Split Pea Soup
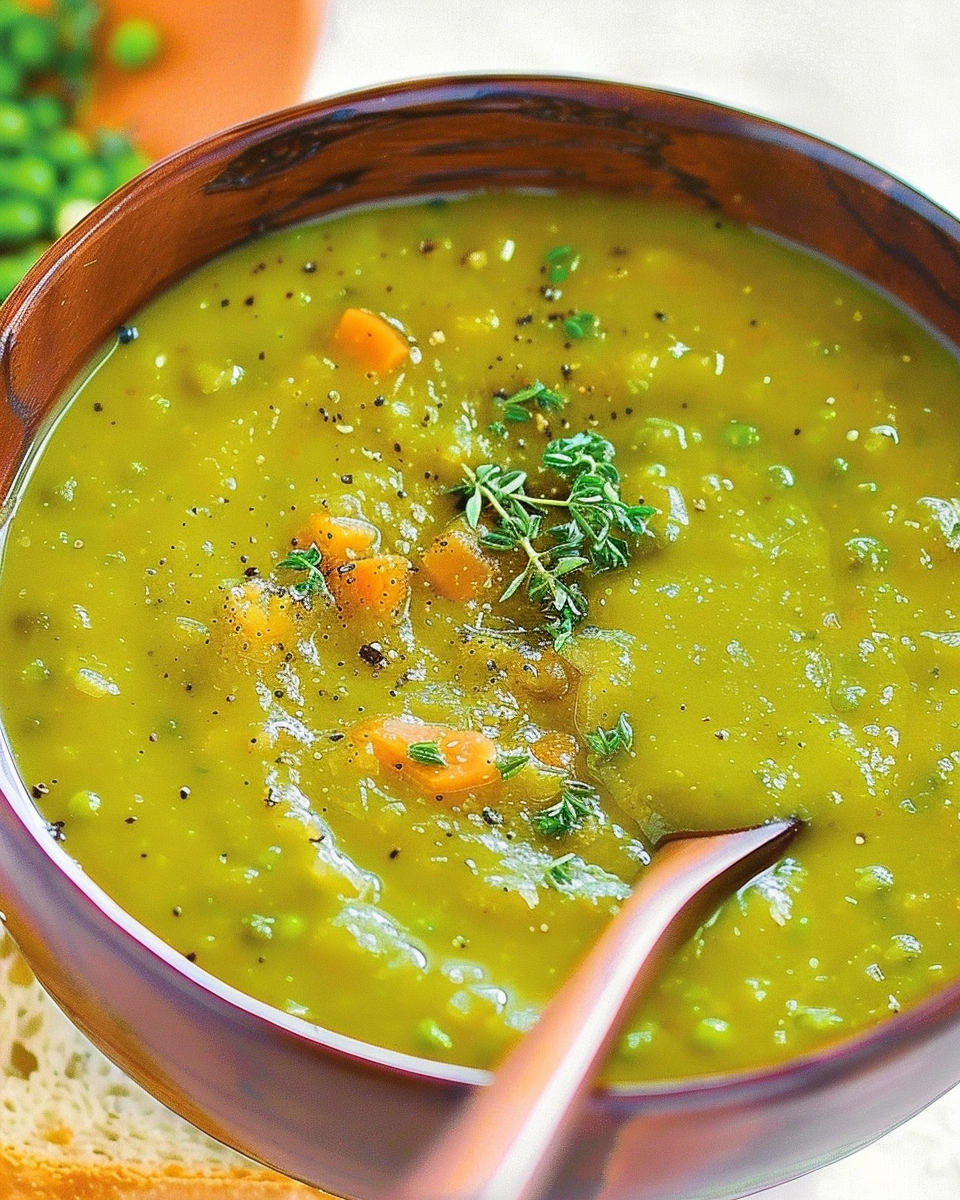
If you’ve ever made split pea soup that turned out bland, watery, or overly thick and pasty, you’re not alone. This humble soup looks simple, but getting the flavor and texture just right makes all the difference. This Split Pea Soup is rich, hearty, and comforting, with a smooth-but-rustic texture that tastes like it’s been simmering all day.
I’ve been making split pea soup for years whenever the weather turns chilly or I need a cozy, budget-friendly meal that feeds everyone well. The key is slow simmering, building flavor early, and letting the peas naturally thicken the soup. In this recipe, you’ll learn how to get deep flavor without fuss, avoid common mistakes, and customize the soup to your taste.
Why You’ll Love This Recipe
-
Hearty & filling: Thick, satisfying, and protein-packed
-
Simple ingredients: Pantry staples that come together easily
-
Comfort food classic: Perfect for cold days and meal prep
Ingredients & Prep
Main Ingredients Prep
-
Dried split peas: Green split peas work best; rinse and sort before using
-
Carrots: Diced for sweetness
-
Celery: Adds savory depth
-
Onion: Finely chopped for a flavorful base
Rinse split peas under cold water and remove any debris.
Seasonings, Sauces, or Flavor Base
-
Garlic: Fresh minced garlic builds flavor
-
Bay leaf: Adds subtle depth
-
Thyme: Dried or fresh both work well
-
Vegetable or chicken broth: Low-sodium preferred
Pantry Staples
-
Olive oil or butter
-
Salt
-
Black pepper
Step-by-Step Cooking Instructions
Pre-Cooking Prep
-
Rinse and sort split peas thoroughly.
-
Dice all vegetables evenly so they cook at the same rate.
Cooking Method (Times & Temps)
-
Heat olive oil in a large pot over medium heat.
-
Add onion, carrots, and celery. Cook for 6–8 minutes until softened.
-
Stir in garlic, thyme, and bay leaf. Cook for 30 seconds until fragrant.
-
Add split peas and broth. Stir well.
-
Bring to a gentle boil, then reduce heat to low.
-
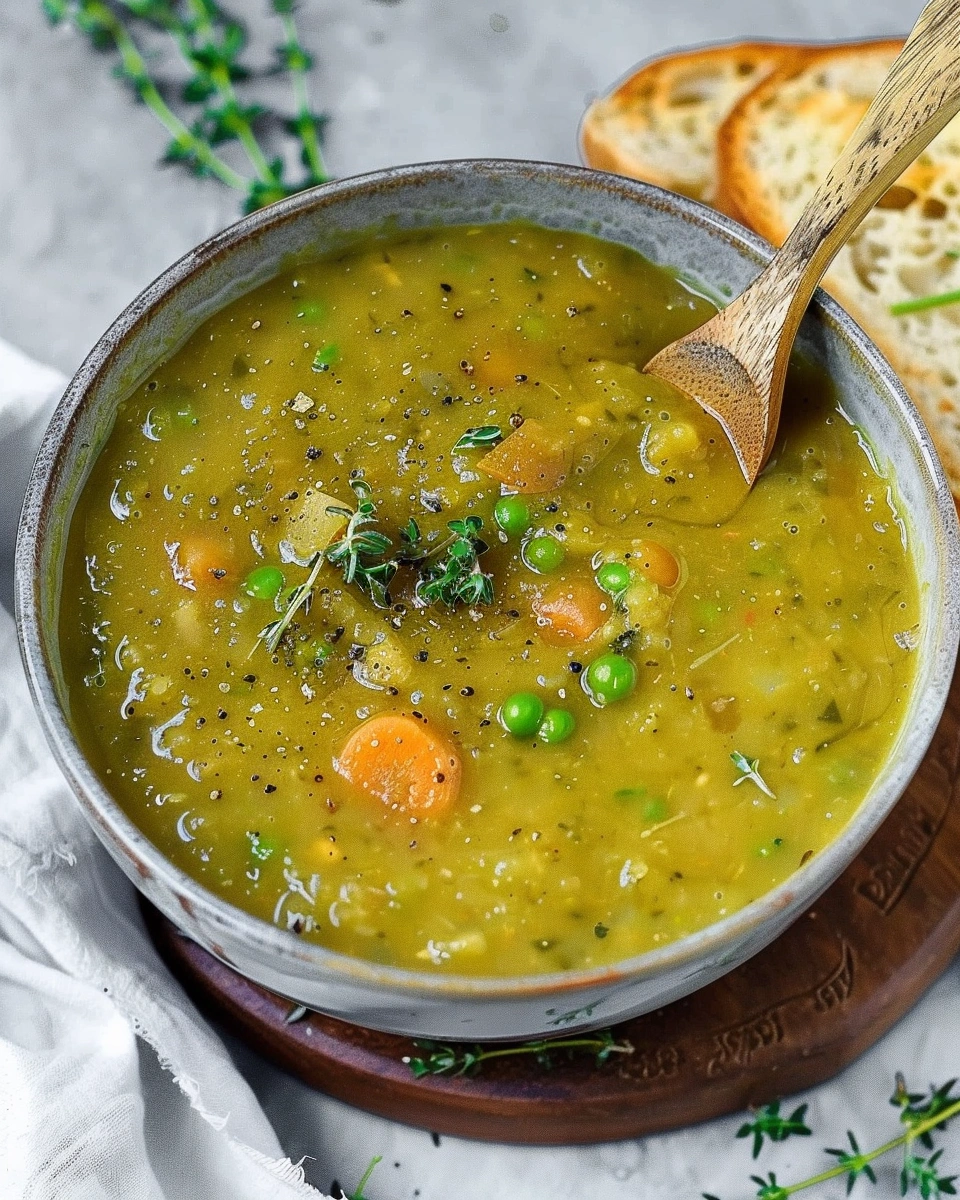
Simmer uncovered for 45–60 minutes, stirring occasionally, until peas are very soft and soup thickens.
Doneness or Texture Check
-
Split peas should be completely tender
-
Soup should be thick but spoonable
-
Vegetables should melt into the broth
Resting or Final Touches
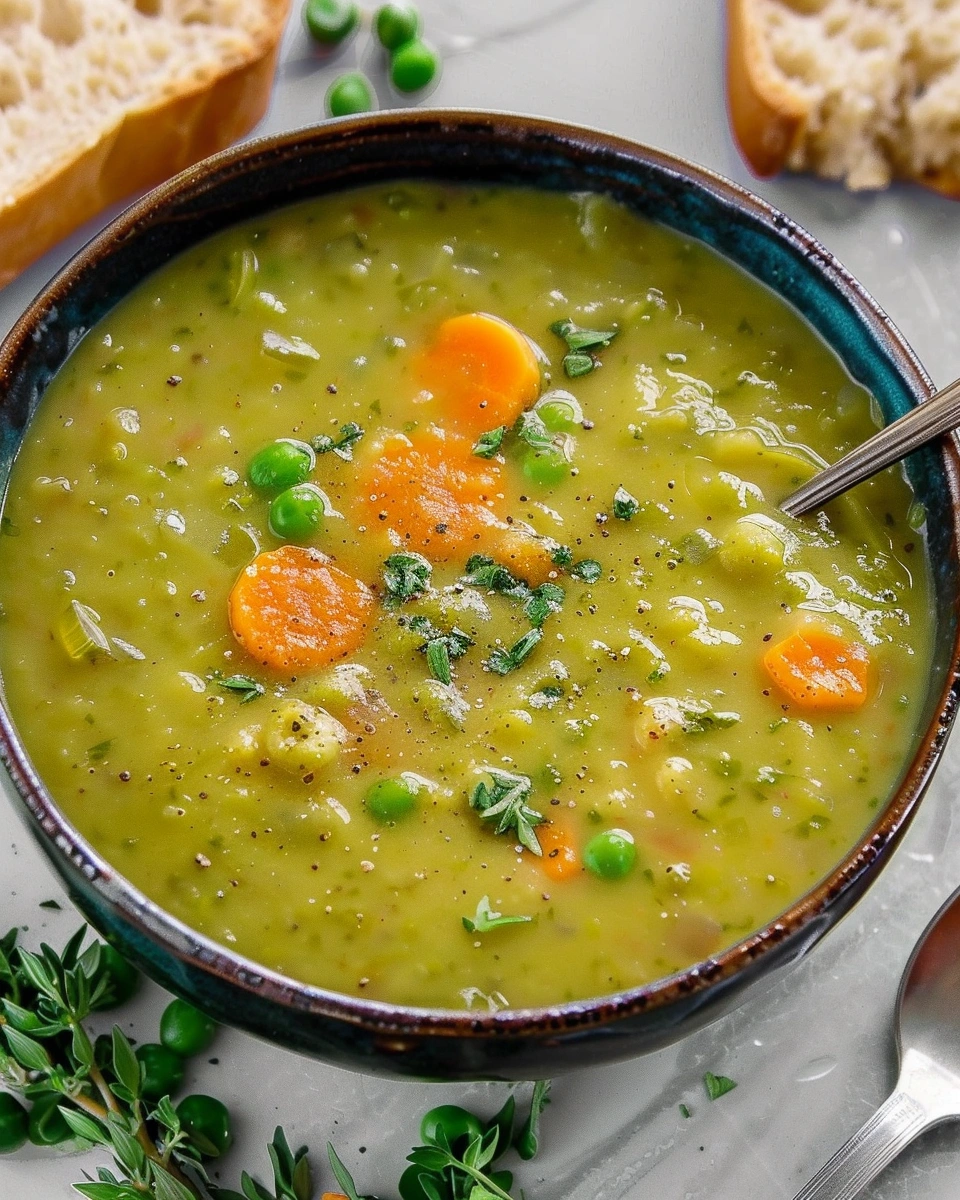
Remove bay leaf. Taste and adjust seasoning with salt and pepper. For a smoother texture, partially blend with an immersion blender, or leave it chunky for a rustic feel.
Pro Tips for Perfect Results
Common Mistakes to Avoid
-
Not stirring occasionally: Peas can stick to the bottom
-
Boiling too hard: Gentle simmer gives better texture
-
Adding salt too early: Season at the end for best control
Recommended Tools
-
Large soup pot or Dutch oven
-
Wooden spoon
-
Immersion blender (optional)
-
Ladle
Storage & Reheating Tips
-
Store in an airtight container for up to 5 days
-
Soup thickens as it sits—add broth or water when reheating
-
Reheat gently on the stovetop or microwave
Flavor Variations
Spicy Version
-
Add crushed red pepper flakes
-
Stir in a dash of hot sauce
Healthy / Special Diet Option
-
Vegan: Use vegetable broth and olive oil
-
Gluten-free: Naturally gluten-free
-
Low-fat: Skip butter and use all broth
Global Flavor Twist
-
Smoky: Add smoked paprika or liquid smoke
-
Herb-forward: Add rosemary or extra thyme
-
Protein boost: Stir in cooked lentils or chickpeas
Serving Suggestions
Split pea soup pairs perfectly with:
-
Crusty bread or rolls
-
Cornbread
-
Simple green salad
Top with:
-
Cracked black pepper
-
A drizzle of olive oil
-
Fresh herbs
Serve with:
-
Hot tea
-
Sparkling water
-
Apple cider
FAQs
Can I make this ahead of time?
Yes. Split pea soup tastes even better the next day as the flavors deepen.
How do I fix common mistakes?
If soup is too thick, add more broth. If it tastes flat, add salt gradually or a splash of vinegar or lemon juice to brighten it.
Conclusion
This Split Pea Soup is a timeless comfort food that’s hearty, nourishing, and incredibly satisfying. With simple ingredients and a slow simmer, you get a rich, flavorful soup that’s perfect for cozy dinners, meal prep, or feeding a crowd.
Readers love how filling and dependable this recipe is, especially on cold days. If you enjoyed this soup, try pairing it with a Classic Grilled Cheese Sandwich or a warm slice of cornbread for the ultimate comfort meal. Enjoy every spoonful!
Split Pea Soup
Ingredients
- 2 tablespoons olive oil or butter
- 1 medium onion finely chopped
- 2 carrots diced
- 2 celery stalks diced
- 3 cloves garlic minced
- 1 teaspoon dried thyme or 1 tablespoon fresh thyme
- 1 bay leaf
- 1 pound dried green split peas rinsed and sorted
- 6 –7 cups low-sodium vegetable or chicken broth
- ¾ teaspoon salt adjust to taste
- ½ teaspoon black pepper
- Optional Add-Ins
- ½ teaspoon smoked paprika for smoky flavor
Instructions
- Rinse and sort split peas under cold water; set aside.
- Heat olive oil in a large pot or Dutch oven over medium heat.
- Add onion, carrots, and celery. Cook for 6–8 minutes, stirring occasionally, until softened.
- Stir in garlic, thyme, and bay leaf. Cook for 30 seconds until fragrant.
- Add split peas and broth. Stir well.
- Bring to a gentle boil, then reduce heat to low.
- Simmer uncovered for 45–60 minutes, stirring occasionally, until peas are very tender and soup thickens.
- Remove bay leaf.
- Season with salt and black pepper to taste.
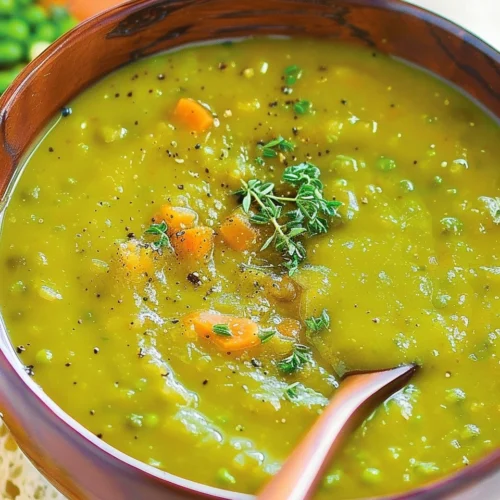
- For a smoother soup, blend partially with an immersion blender, or leave chunky for a rustic texture.
- Serve warm.
Notes
- Stir occasionally to prevent peas from sticking to the bottom.
- Season near the end to better control saltiness.
- Soup will thicken as it cools—add broth when reheating if needed.