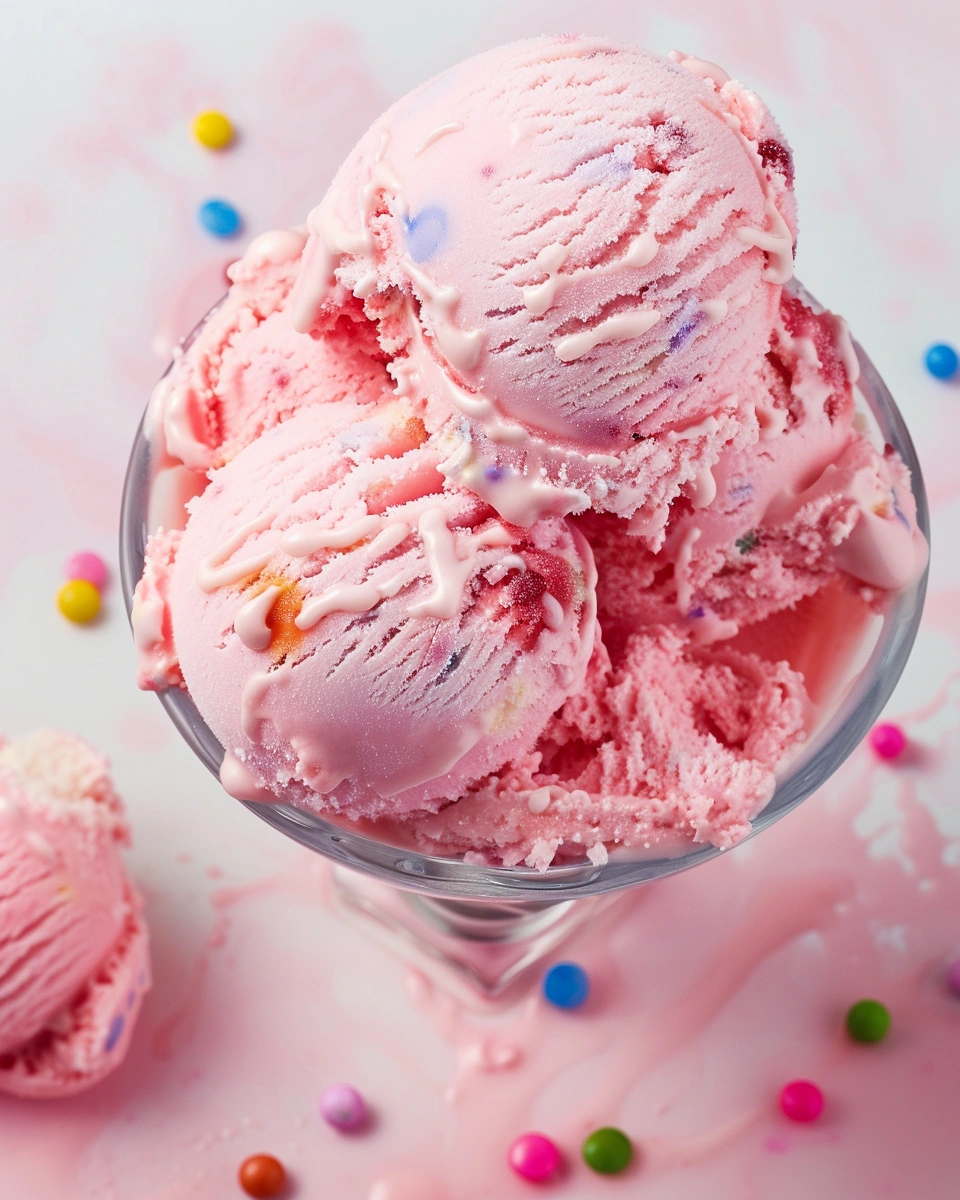
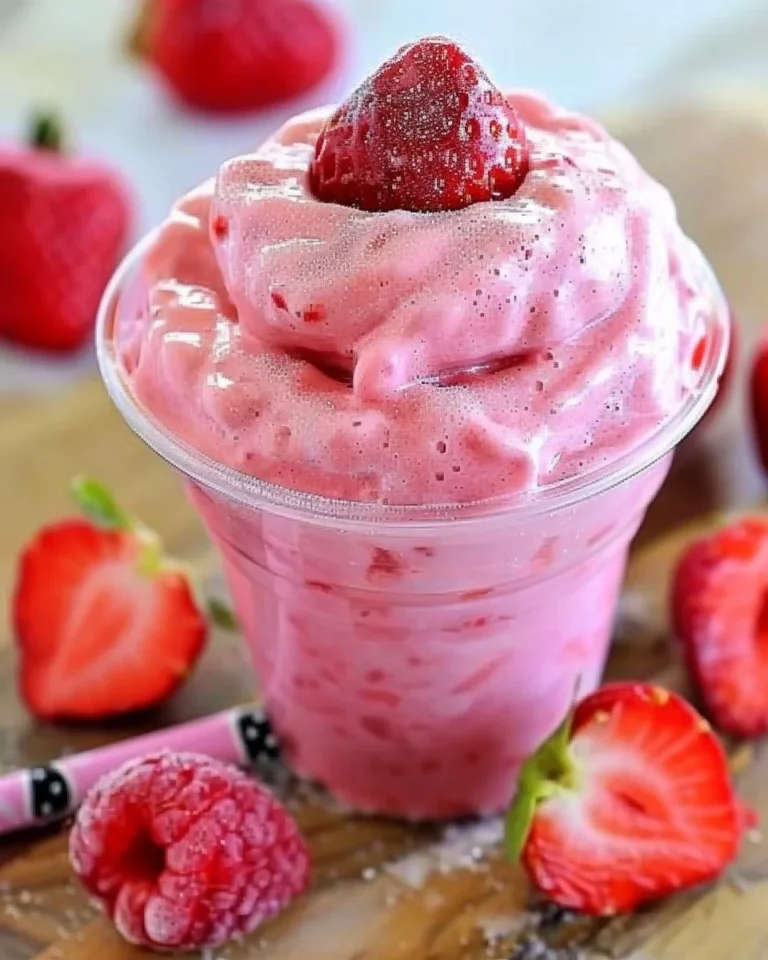
Few desserts bring back childhood memories quite like Bubblegum Ice Cream. With its bright pink color, sweet candy flavor, and fun chewy bubblegum pieces, it’s one of the most playful ice cream flavors you can make at home. While it’s a favorite at many ice cream shops, many people don’t realize how easy it is to recreate this classic treat in their own kitchen.
Store-bought bubblegum ice cream often relies on artificial flavors and colors. When you make Bubblegum Ice Cream at home, you can control the sweetness, texture, and even the color to create a fun, creamy dessert that tastes even better than the original.
After experimenting with homemade ice cream flavors for years, this recipe has become a favorite for parties, birthdays, and summer treats. It’s simple, colorful, and always a hit with kids and adults alike.
In this guide, you’ll learn how to make the perfect Bubblegum Ice Cream, including ingredients, step-by-step instructions, expert tips for creamy texture, flavor variations, serving ideas, and answers to common questions.
Why You’ll Love This Recipe
-
Fun bubblegum flavor that’s nostalgic and sweet
-
Bright colorful appearance perfect for celebrations
-
Smooth and creamy texture like classic scoop shop ice cream
-
Simple ingredients that are easy to find
-
Customizable colors and mix-ins
-
Great for parties and kids’ desserts
Homemade Bubblegum Ice Cream is playful, creamy, and guaranteed to bring smiles.
Ingredients & Prep
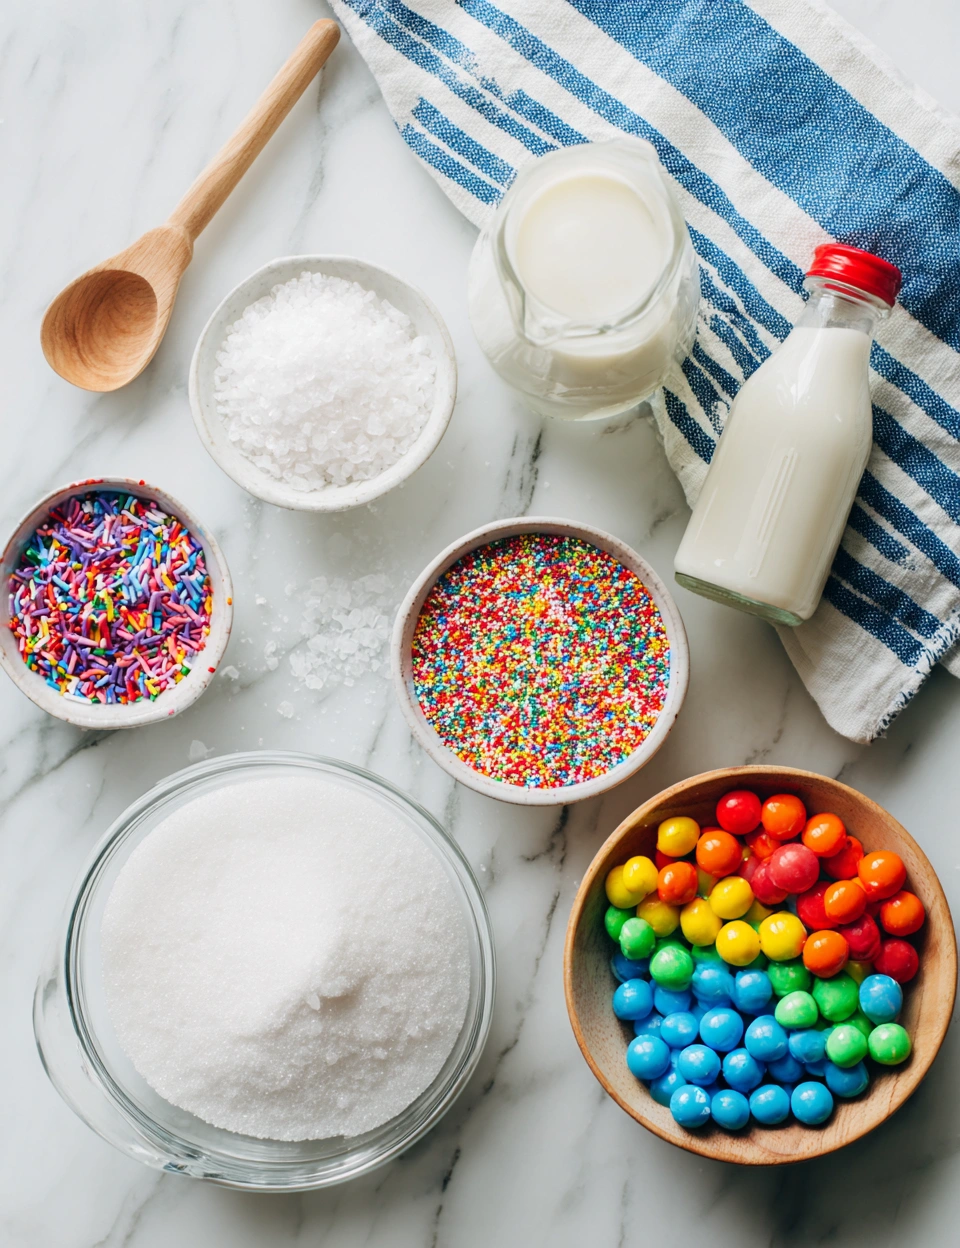
Main Ingredients Prep
The creamy base of Bubblegum Ice Cream uses classic ice cream ingredients.
You will need:
Prep tip
Make sure your dairy ingredients are fresh and cold before starting. This helps create a smooth ice cream base.
Seasonings, Sauces, or Flavor Base
To create the signature bubblegum flavor and color, add:
These ingredients give the ice cream its recognizable flavor and fun appearance.
Pantry Staples
These optional ingredients enhance flavor and texture:
Having these ready will make assembling your Bubblegum Ice Cream even easier.
Step-by-Step Cooking Instructions
Pre-Cooking Prep
Before cooking the ice cream base, prepare the ingredients.
-
Separate the egg yolks from the whites.
-
Measure the milk, cream, and sugar.
-
Chop large gumballs into smaller pieces if needed.
This preparation helps everything come together smoothly.
Cooking Method
-
Heat the milk and cream
In a medium saucepan, combine the whole milk, heavy cream, and a pinch of salt. Heat over medium heat until warm but not boiling.
-
Whisk egg yolks and sugar
In a bowl, whisk the egg yolks and sugar together until the mixture becomes pale and slightly thick.
-
Temper the eggs
Slowly pour a small amount of the warm cream mixture into the egg mixture while whisking constantly.
-
Cook the custard
Return the mixture to the saucepan and cook over medium-low heat, stirring continuously until it thickens slightly and coats the back of a spoon.
-
Add flavor
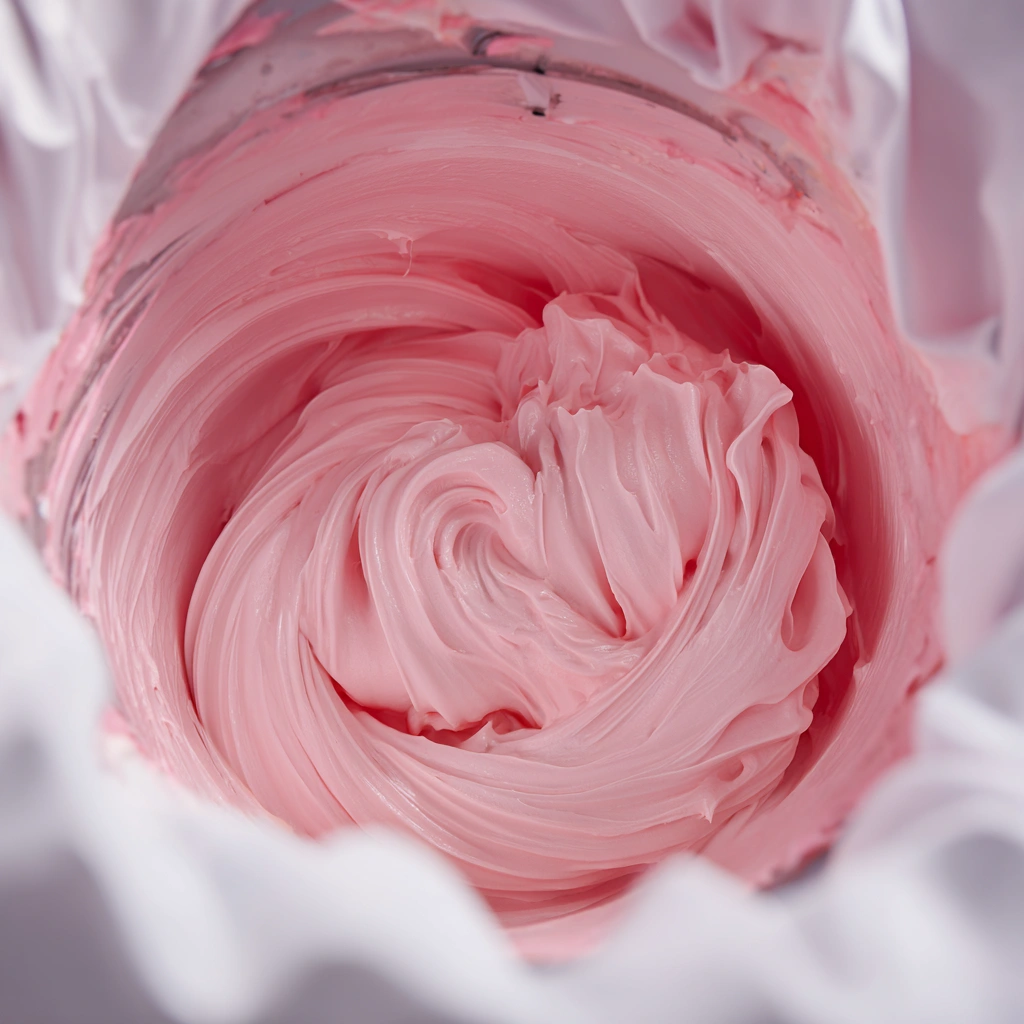
Remove from heat and stir in the bubblegum extract, vanilla extract, and a few drops of pink food coloring.
-
Chill the base
Transfer the mixture to a bowl and refrigerate for 2–3 hours until fully chilled.
-
Churn the ice cream
Pour the chilled mixture into an ice cream maker and churn according to the manufacturer’s instructions.
-
Add bubblegum pieces
During the final few minutes of churning, add the bubblegum pieces.
Doneness or Texture Check
The ice cream should look thick and creamy, similar to soft-serve ice cream.
If it appears slightly soft, that’s normal before freezing.
Resting or Final Touches
Transfer the Bubblegum Ice Cream to a freezer-safe container.
Freeze for 3–4 hours until firm enough to scoop.
For extra fun, top the ice cream with sprinkles or extra gumballs before serving.
Pro Tips for Perfect Results
Common Mistakes to Avoid
Adding bubblegum too early
Add bubblegum pieces near the end of churning so they stay chewy.
Skipping the chilling step
A fully chilled base creates smoother ice cream.
Using too much coloring
Start with a few drops and add more gradually.
Recommended Tools
Helpful kitchen tools include:
-
Ice cream maker
-
Mixing bowls
-
Whisk
-
Medium saucepan
-
Rubber spatula
-
Freezer-safe container
These tools help create smooth and creamy Bubblegum Ice Cream.
Storage & Reheating Tips
Freezer storage
Store the ice cream in an airtight container for up to 2 weeks.
Prevent ice crystals
Press plastic wrap or parchment paper directly onto the ice cream surface.
Before serving
Let the ice cream sit at room temperature for 5 minutes before scooping.
Flavor Variations
You can customize Bubblegum Ice Cream with creative twists.
Spicy Version
For a playful contrast, add a small pinch of:
This creates a sweet and slightly warm flavor combination.
Healthy / Special Diet Option
You can adjust the recipe for dietary needs.
Dairy-free option
Replace the dairy with:
-
coconut cream
-
almond milk
Lower sugar version
Use a reduced-sugar sweetener like monk fruit.
Global Flavor Twist
Try fun international-inspired versions.
Japanese-inspired
Add a touch of matcha powder for a colorful flavor mix.
Tropical version
Add small pieces of pineapple or mango.
Carnival-style
Mix in cotton candy pieces for extra sweetness.
Serving Suggestions
Bubblegum Ice Cream is perfect for fun desserts and celebrations.
Serve it with:
-
Waffle cones
-
Sugar cones
-
Ice cream bowls
-
Waffle bowls
Toppings that work well include:
-
Rainbow sprinkles
-
Whipped cream
-
Candy pieces
-
Crushed cookies
-
Maraschino cherries
You can also use it to make colorful milkshakes or ice cream floats.
FAQs
Can I make this ahead of time?
Yes. Bubblegum Ice Cream can be made one day ahead and stored in the freezer until ready to serve.
How do I fix common mistakes?
Ice cream too hard
Let it soften at room temperature for a few minutes before scooping.
Ice cream too icy
Make sure the base was fully chilled before churning.
Flavor too mild
Add a little extra bubblegum extract to enhance the flavor.
Conclusion
This homemade Bubblegum Ice Cream is colorful, creamy, and packed with nostalgic candy flavor. It’s a fun dessert that’s perfect for birthdays, summer parties, or anytime you want a playful frozen treat.
Once you try making it at home, you’ll see how simple and customizable it can be. With its bright color and sweet flavor, it’s guaranteed to be a hit with kids and adults alike.
If you enjoyed this recipe, you might also love trying No Churn Superman Ice Cream, Cherry Vanilla Ice Cream, or Lime Sherbet for more fun and refreshing frozen desserts.