Cheese and Herb Filo Pie
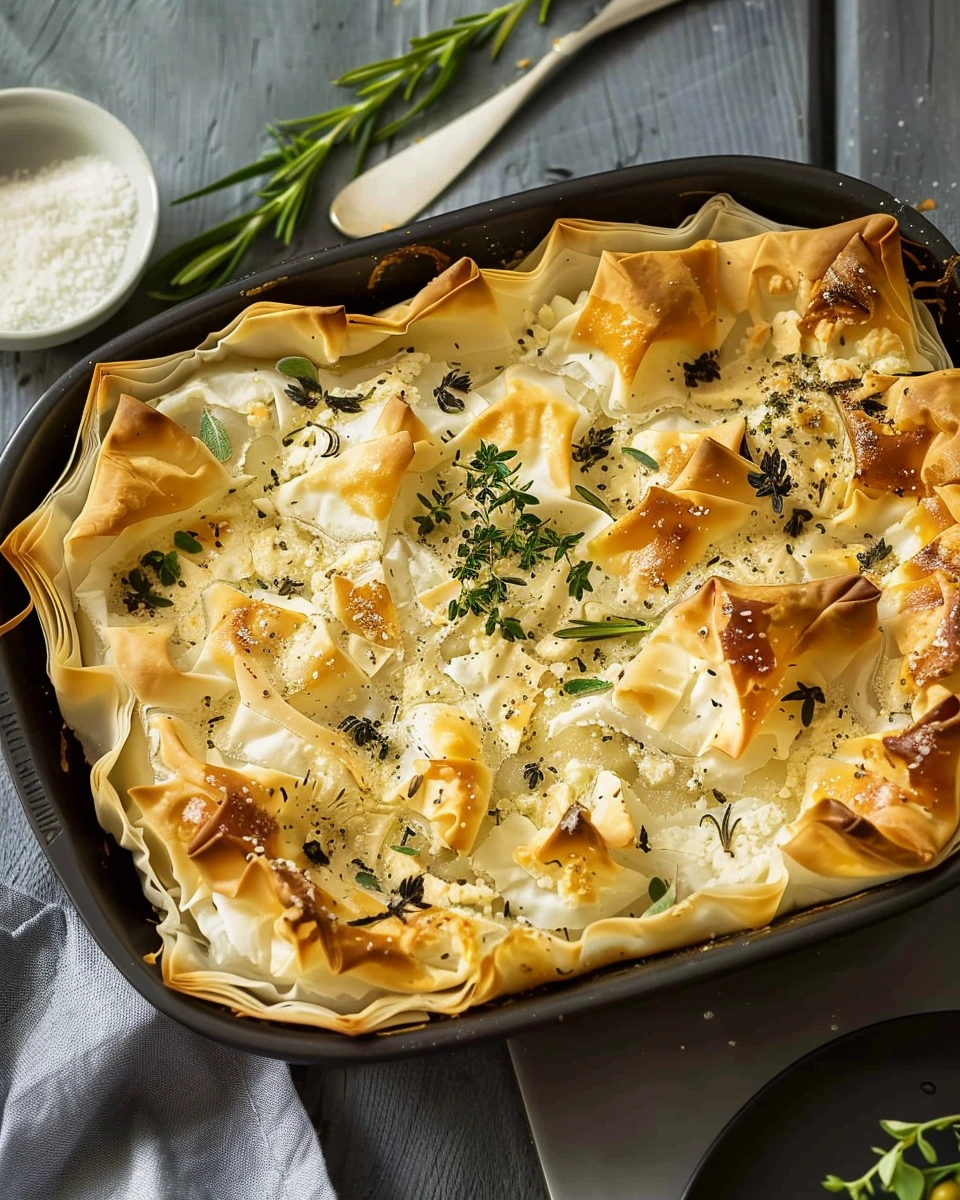
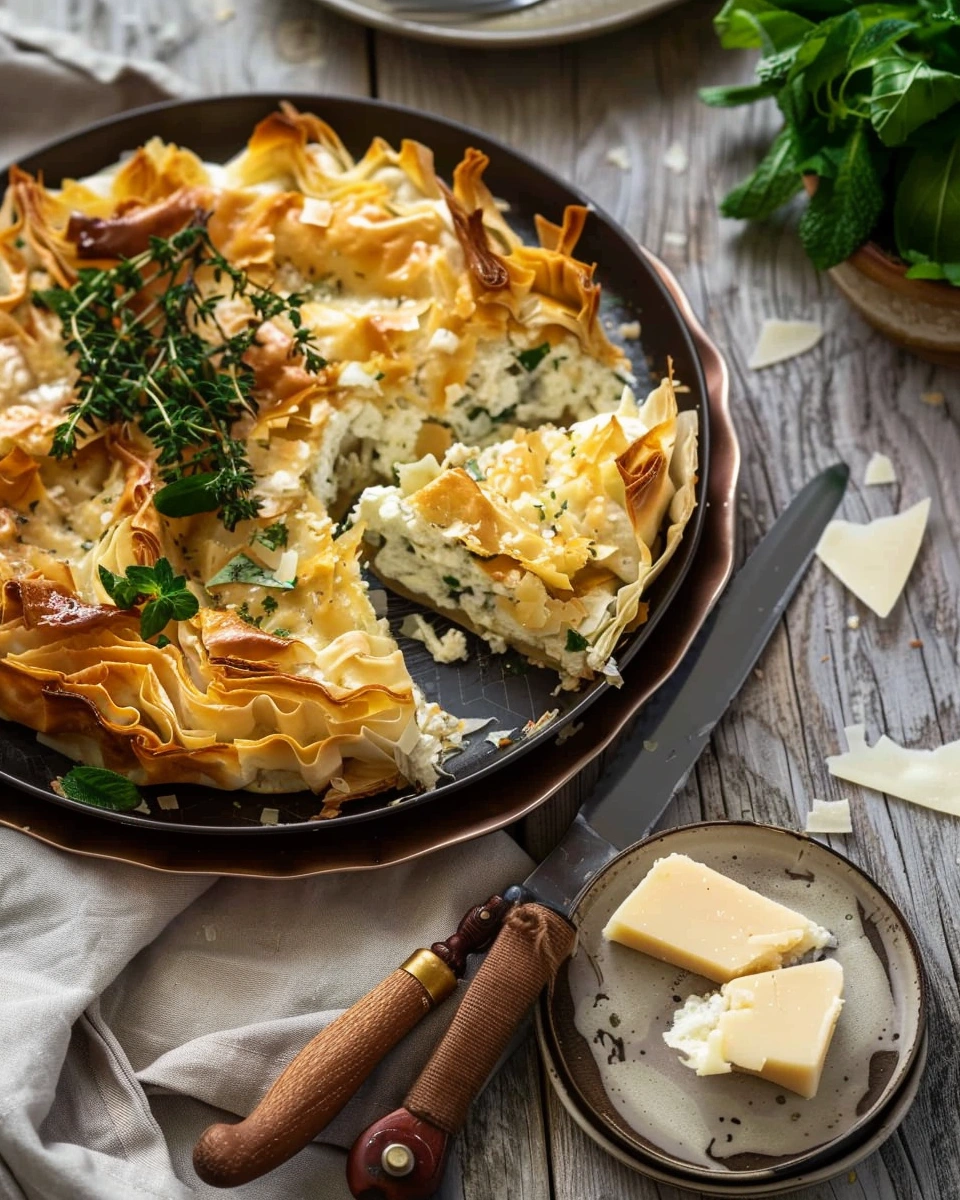
If you’ve ever worked with filo dough and ended up with torn sheets, dry layers, or a soggy filling, this cheese and herb filo pie will change your mind about making it at home. This recipe delivers perfectly crisp, flaky layers wrapped around a creamy, savory cheese filling that’s full of fresh herb flavor.
I’ve made this pie many times for family dinners, brunches, and gatherings, and it’s always one of the first dishes to disappear. It looks impressive but is surprisingly simple when you know a few key tips. In this post, you’ll learn how to handle filo dough with confidence, build bold flavor, and bake a pie that’s golden and crisp every time.
Why You’ll Love This Recipe
-
Crispy and flaky: Beautiful golden filo layers
-
Rich and savory: Creamy cheese balanced with fresh herbs
-
Versatile: Perfect for brunch, lunch, or dinner
-
Make-ahead friendly: Great for entertaining
Ingredients & Prep
Main Ingredients Prep
-
Filo dough: Thaw completely in the fridge overnight
-
Feta cheese: Crumble finely for even distribution
-
Ricotta or cream cheese: Softens the filling and adds creaminess
Seasonings, Sauces, or Flavor Base
-
Fresh herbs: Parsley, dill, chives, or basil, finely chopped
-
Black pepper: Freshly ground
-
Nutmeg (optional): Just a pinch for warmth
Pantry Staples
-
Eggs: Bind the filling
-
Olive oil or melted butter: For brushing filo layers
-
Salt: Use lightly, as feta is salty
Step-by-Step Cooking Instructions
Pre-Cooking Prep
Preheat oven to 375°F. Lightly grease a baking dish or pie pan. Keep filo sheets covered with a damp towel to prevent drying while you work.
Cooking Method
-
In a bowl, mix feta, ricotta or cream cheese, eggs, chopped herbs, black pepper, and nutmeg until well combined.
-
Brush one sheet of filo with olive oil or melted butter and place it in the pan, letting edges overhang.
-
Repeat with 6–8 sheets, brushing each lightly.
-
Spread the cheese and herb filling evenly over the base.
-
Layer another 6–8 filo sheets on top, brushing each with oil or butter.
-
Fold overhanging edges inward and brush the top generously.
-
Score the top lightly with a knife to help steam escape.
Doneness or Texture Check
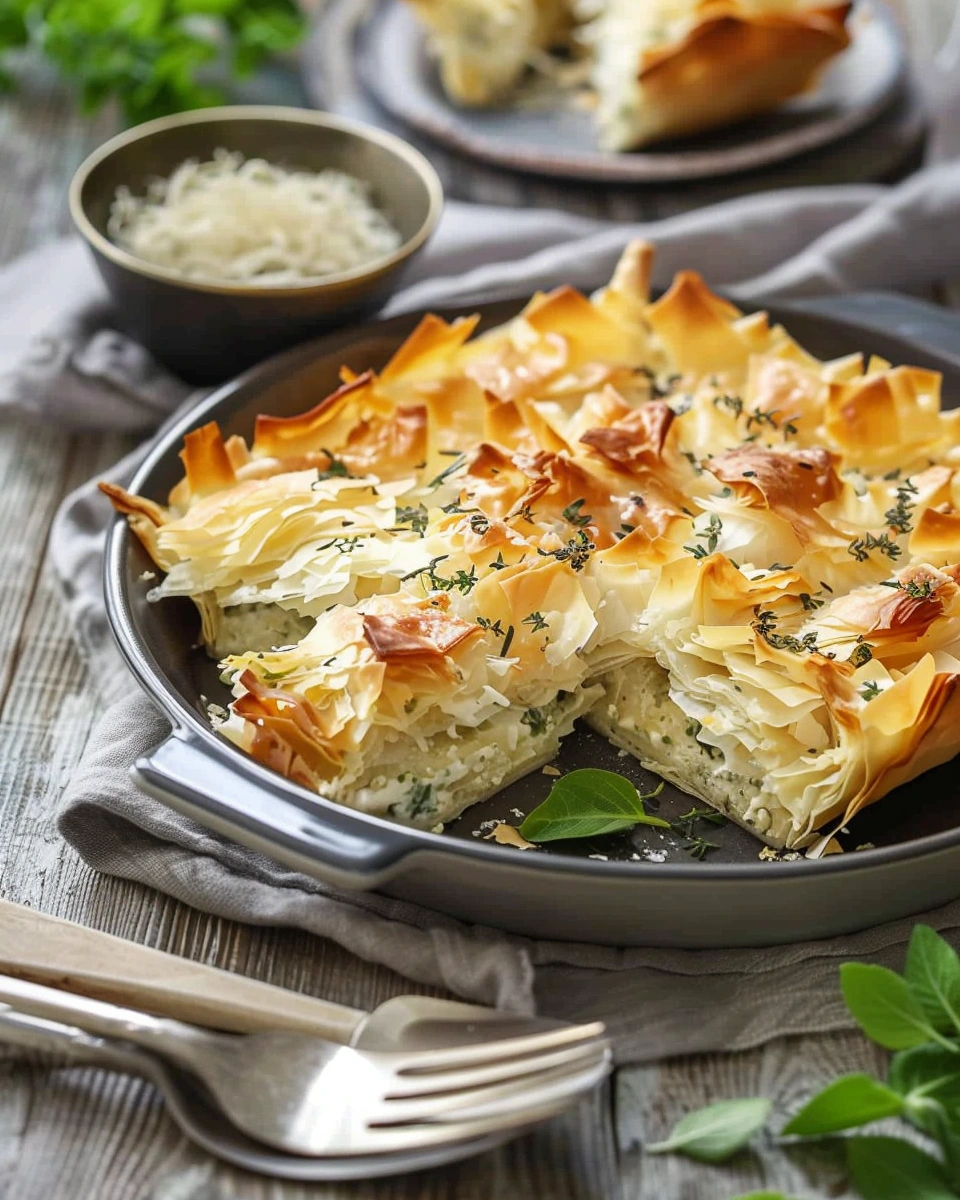
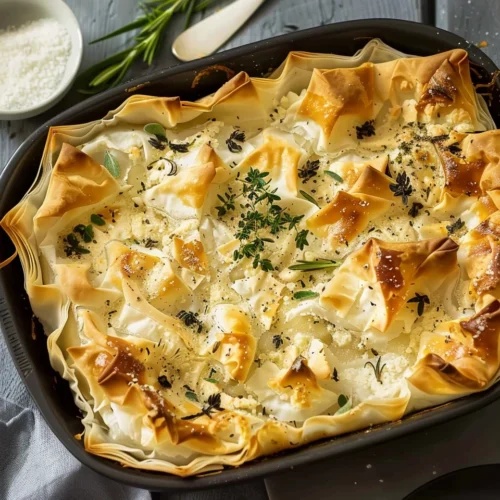
Bake for 35–40 minutes, until the pie is deeply golden and crisp. The center should be set, not jiggly.
Resting or Final Touches
Let the pie rest for 10 minutes before slicing. This helps the layers settle and makes clean slices easier.
Pro Tips for Perfect Results
Common Mistakes to Avoid
-
Letting filo dry out while assembling
-
Over-brushing with butter (can make it greasy)
-
Overfilling the pie
Recommended Tools
-
Pastry brush
-
Mixing bowl
-
Baking dish or pie pan
-
Sharp knife for scoring
Storage & Reheating Tips
Store leftovers in an airtight container in the fridge for up to 3 days. Reheat in the oven at 325°F to restore crispness. Avoid microwaving, which softens the filo.
Flavor Variations
Spicy Version
Add crushed red pepper flakes or finely chopped chili to the cheese mixture.
Healthy / Special Diet Option
-
Lower fat: Use part-skim ricotta and brush filo lightly with olive oil
-
Gluten-free: Use gluten-free filo if available
Global Flavor Twist
Add spinach for a Greek-style pie or swap herbs for za’atar for a Middle Eastern-inspired version.
Serving Suggestions
-
Serve with a simple green salad
-
Pair with roasted vegetables or tomato soup
-
Enjoy as part of a brunch spread with eggs and fruit
FAQs
Can I make this ahead of time?
Yes. Assemble the pie, cover tightly, and refrigerate up to 24 hours before baking.
How do I fix common mistakes?
If the top browns too quickly, tent loosely with foil. If the bottom is soft, bake directly on the lower oven rack next time.
Conclusion
This cheese and herb filo pie is crispy, creamy, and packed with flavor—perfect for both everyday meals and special occasions. With just a little care handling the filo, you’ll get a stunning pie that tastes as good as it looks.
If you loved this recipe, try pairing it with a fresh Mediterranean-style salad or another savory baked dish for a complete meal. Save this recipe, share it, and enjoy every flaky bite!
Ingredients
- Main Ingredients
- 12 –16 sheets filo dough fully thawed
- 1½ cups feta cheese finely crumbled
- 1 cup ricotta cheese or cream cheese softened
- Filling & Flavor
- 3 large eggs
- ½ cup mixed fresh herbs parsley, dill, chives, basil, finely chopped
- ½ tsp freshly ground black pepper
- Pinch of nutmeg optional
- Pantry Staples
- Olive oil or melted butter for brushing
- Salt to taste (use lightly—feta is salty)
Instructions
- Preheat & Prep
- Preheat oven to 375°F (190°C). Lightly grease a baking dish or pie pan.
- Keep filo sheets covered with a damp towel while assembling to prevent drying.
- Make the Filling
- In a mixing bowl, combine feta, ricotta (or cream cheese), eggs, herbs, black pepper, and nutmeg until smooth and evenly mixed.
- Build the Base
- Brush one sheet of filo lightly with olive oil or melted butter and place it in the pan, letting edges overhang.
- Repeat with 6–8 sheets, brushing each lightly.
- Add Filling
- Spread cheese and herb mixture evenly over the filo base.
- Top the Pie
- Layer remaining 6–8 filo sheets on top, brushing each with oil or butter.
- Fold overhanging edges inward and brush the top generously.
- Score & Bake
- Lightly score the top with a sharp knife.
- Bake 35–40 minutes, until deeply golden and crisp.
- Rest & Serve
- Let rest 10 minutes before slicing for clean cuts.
Notes
- Handle filo gently—tears are okay; layering hides imperfections.
- Light brushing keeps the pie crisp, not greasy.
- Scoring helps steam escape and prevents sogginess.