Easy Holiday Cake Pops
Whip Up Easy Halloween Cake Pops for Spooktacular Fun!
Halloween is right around the corner, and while pumpkins and ghosts are traditional symbols of the season, nothing captures the spirit of the holiday quite like Easy Halloween Cake Pops. Whether you’re hosting a spooky gathering or simply looking for a fun activity with the kids, these cake pops can bring delight and a hint of mischief to the festivities. Imagine biting into a rich, chocolatey treat coated in vibrant colors and adorned with festive sprinkles. Sounds tempting, right? Let’s dive into why making these treats is not just fun but also easy and utterly rewarding.
What Makes Halloween Cake Pops a Must-Try
Cake pops are the perfect balance of cake and confectionery, delivering a bite-sized treat that can be enjoyed by children and adults alike. They’re versatile, allowing for endless creativity in design. Picture a witch’s cauldron or a ghostly figure on a stick, which provides not just a delicious treat but also a wonderful experience for your Halloween celebration. Here’s why you’ll want to make these:
- Visually Appealing: They can be customized to match any Halloween theme.
- Fun to Make: Involve friends and family in the decorating process.
- Portable Treats: Easy to transport to parties and events.
- Kid-Friendly: A great way to engage children in the kitchen.
Simple Ingredients for Spooky Delights
Creating Halloween cake pops is straightforward, requiring only a handful of ingredients. Here’s what you’ll need:
- Cake: Any leftover or freshly baked cake works. Chocolate and vanilla are popular choices.
- Frosting: Store-bought or homemade; this is used to bind the cake crumbs together.
- Chocolate Coating: Candy melts or chocolate chips, depending on your preference.
- Lollipop Sticks: Essential for the pop aspect (available in craft stores).
- Sprinkles or Edible Decorations: Think spooky eyes, festive Halloween colors, or seasonal shapes.
- Optional Add-ins: Flavoring extracts, food coloring, and various toppings for an extra touch.
Crafting Your Cake Pops: A Step-By-Step Guide
Ready to whip up some spooky wonders? Follow these simple steps to make your Easy Halloween Cake Pops:
- Prepare Your Cake: Crumble your baked cake into a large bowl, breaking it into fine crumbs.
- Mix with Frosting: Add about 1/2 cup of frosting to the crumbled cake. Use your hands to blend until it holds together like dough.
- Shape the Pops: Roll the mixture into balls, about 1-1.5 inches in diameter. Place them on a baking sheet lined with parchment paper.
- Chill: Refrigerate the balls for about 30 minutes to firm up.
- Melt Chocolate: While the cake pops chill, melt your candy coating according to package instructions (typically in the microwave or on a double boiler).
- Insert the Sticks: Dip the end of each lollipop stick into the melted chocolate and then insert it into the center of each cake ball. This helps secure the stick.
- Coat the Pops: Dip each cake pop into the melted chocolate, swirling to ensure an even coat. Allow excess chocolate to drip off.
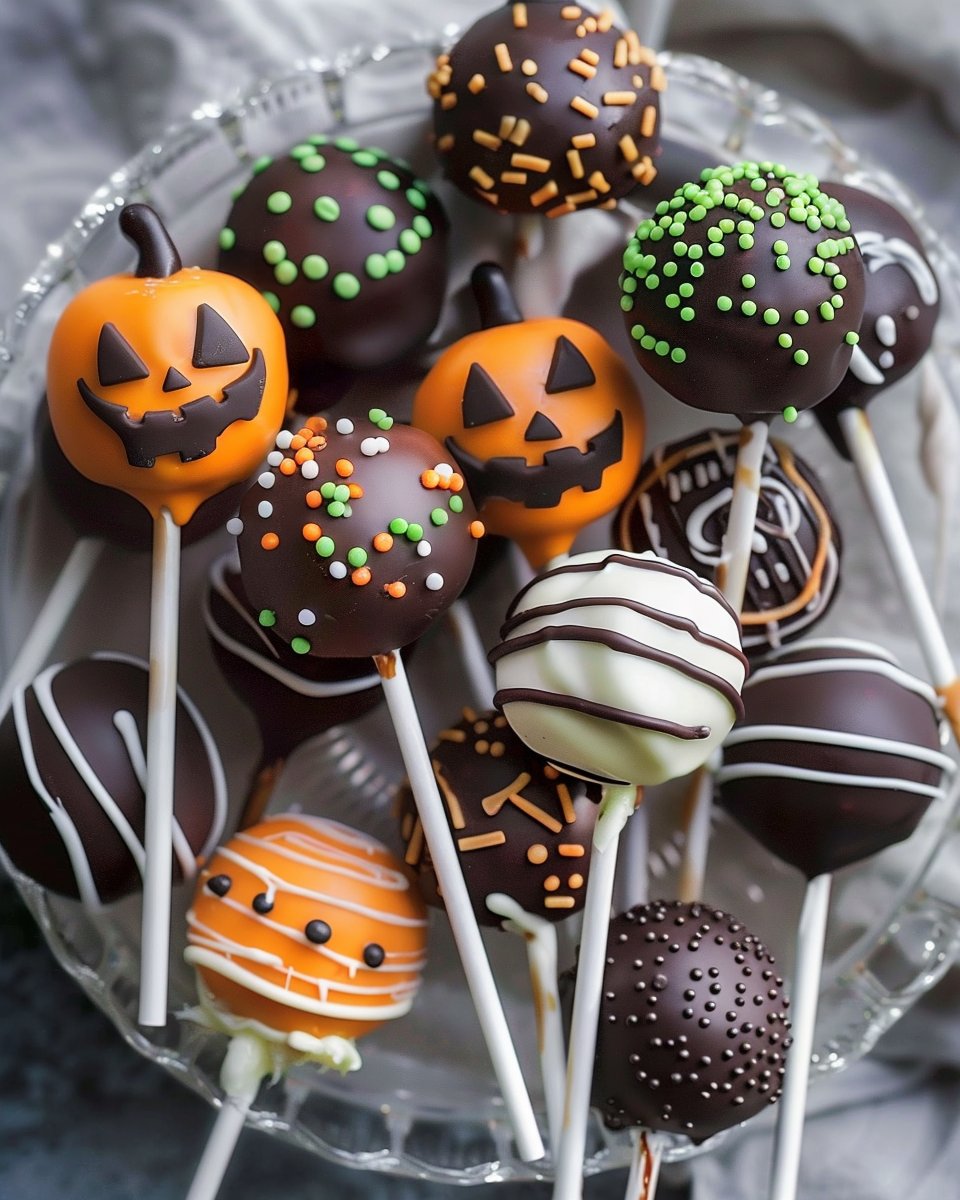
- Decorate: Before the chocolate hardens, sprinkle your decorations on top or drizzle with contrasting chocolate to create designs.
- Let Them Set: Stick the pops upright in a foam block or a cup to ensure they cool without smudging the decorations.
Pro Tips for Perfect Cake Pops
To make sure your cake pops turn out beautifully every time, consider these professional tips:
- Crumble Fine: Ensure your cake is crumbled finely for a smooth texture.
- Use Refrigerated Cake: Cold cake is easier to work with than warm, as it holds shape better.
- Experiment with Flavors: Why not try lemon cake with vanilla frosting? The mixture of flavors can create a delightful surprise!
- Use Quality Chocolate: Melting wafers or high-quality chocolate provides a shiny finish.
- Don’t Rush: Allow ample time for drying; this helps maintain the structural integrity of the pops.
Creative Halloween Cake Pop Ideas
While basic cake pops are delicious, you can elevate them even further by exploring various designs. Here are some fun ideas:
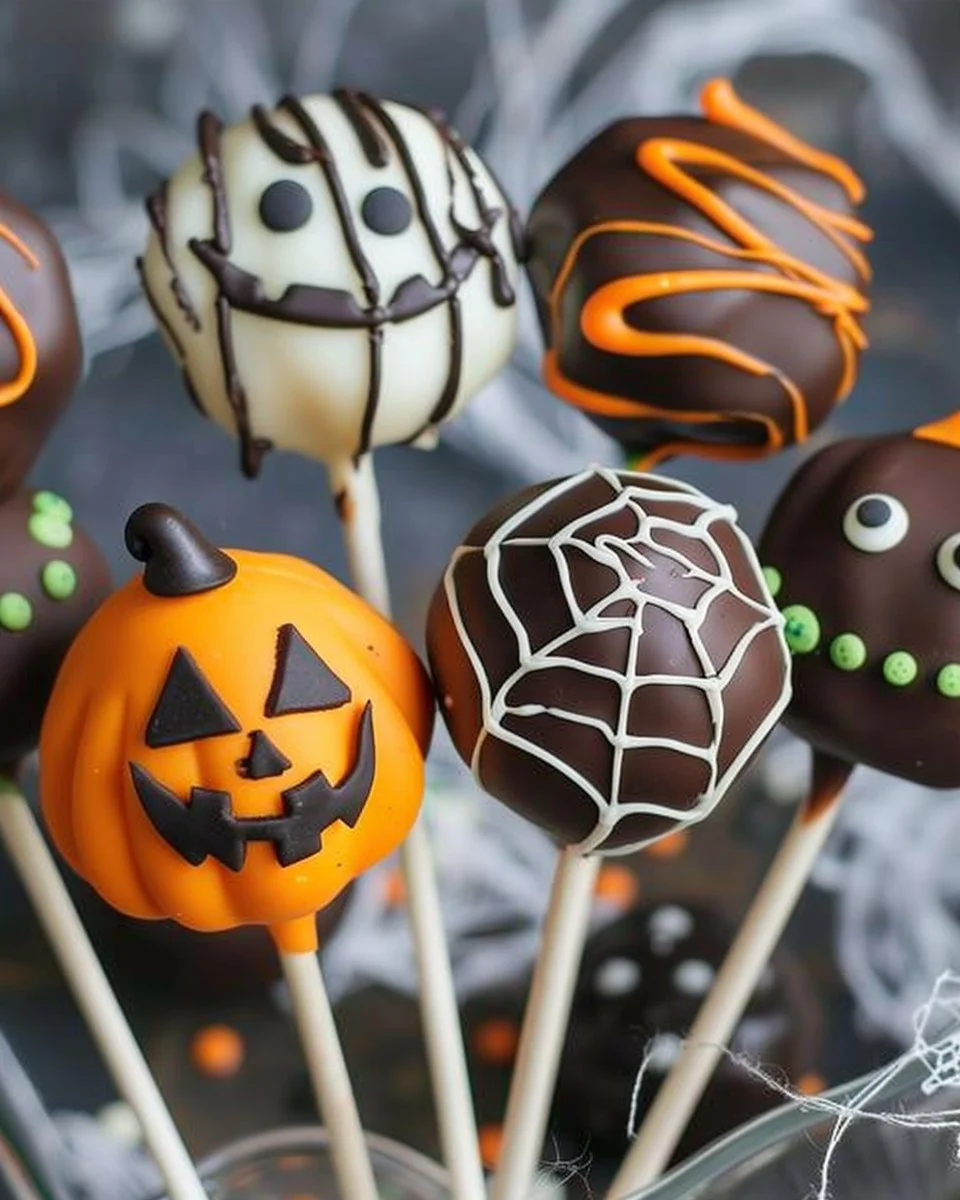
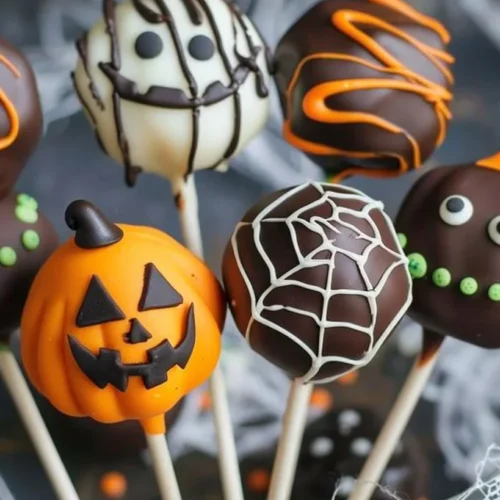
- Ghost Pops: Use white chocolate coating and generate ghost faces with edible black marker or melted chocolate.
- Pumpkin Pops: Orange candy melts, with green sprinkles for stems, can transform your pops into little pumpkins.
- Monster Mash: Use various sprinkles to give each pop a unique monster face, with googly candy eyes and colored drizzles.
Common Pitfalls and How to Avoid Them
Even simple recipes can hit roadblocks. Here are some common mistakes to watch out for when making cake pops:
- Too Much Frosting: Adding too much frosting can make the mixture too wet, leading to pops that fall apart. Start small, adding more as necessary.
- Dipping Temperature: If your chocolate is too hot, it can slide right off the cake pop. Let it cool slightly before dipping.
- Heavy Decorations: Keep decorations light to prevent them from weighing down the chocolate coating and causing it to break.
Storing Your Cake Pops
If you make a big batch (and why wouldn’t you?), storing them correctly is key to maintaining freshness:
- Room Temperature: If you plan to consume them within a day or two, simply keep them in an airtight container at room temperature.
- Refrigeration: For longer storage, you can refrigerate the pops in an airtight container. They can last for up to a week this way.
- Freezing: Cake pops freeze well. Just place them in a single layer in a container; they can last for up to 3 months. To eat, let them thaw at room temperature.
FAQs about Easy Halloween Cake Pops

How do you make easy Halloween cake pops?
Making easy Halloween cake pops involves crumbling cake, mixing it with frosting, forming balls, and dipping them in melted chocolate. Add your favorite decorations for a festive touch!
Can I use store-bought cake for cake pops?
Absolutely! Store-bought cake can save time and works perfectly well for making cake pops. Just remember to crumble and mix it with frosting for the best texture.
How do I ensure my cake pops don’t fall off the stick?
To prevent your cake pops from falling off the stick, dip the stick into melted chocolate before inserting it into the cake ball. This ‘glues’ it in place.
What’s the best way to decorate Halloween cake pops?
The best way to decorate is while the chocolate is still wet, using different sprinkles, edible glitter, or colored chocolate drizzles. Let your creativity run wild!
Can Halloween cake pops be made in advance?
Yes, they can be made ahead of time! Store them in an airtight container at room temperature for a day or two, or refrigerate them for up to a week.
How do I get a smooth coating on my cake pops?
To achieve a smooth coating, ensure your chocolate is melted to the right consistency (not too hot) and dip the cake pop straight down and slowly into the chocolate, allowing excess to drip off.
Final Thought: Dive Into the Fun of Cake Pops This Halloween
Making Easy Halloween Cake Pops is not just a culinary activity; it’s an opportunity to create beautiful memories with loved ones. The process is enjoyable, and you can let your imagination soar with decorations and flavors. Whether you’re preparing for a party or simply indulging in the joy of creating something special, these little treats are sure to make your Halloween celebrations sweeter. Enjoy the process, embrace the creativity, and above all—have fun!
Easy Halloween Cake Pops
Ingredients
Main Ingredients
- 1 cake Any leftover or freshly baked cake (chocolate or vanilla) Use any flavor of your choice.
- 1/2 cup Frosting (store-bought or homemade) This is used to bind the cake crumbs together.
- 2 cups Chocolate coating (candy melts or chocolate chips) Choose your preference.
- 24 sticks Lollipop sticks Essential for the pop aspect, available in craft stores.
- as needed sprinkles Sprinkles or edible decorations Use spooky eyes, festive colors, or seasonal shapes.
Optional Add-ins
- as desired Flavoring extracts Adds variety to the cake pops.
- as needed drops Food coloring For tinting the frosting or coating.
- as needed Various toppings For an extra touch of creativity.
Instructions
Preparation
- Crumble your baked cake into a large bowl, breaking it into fine crumbs.
- Add about 1/2 cup of frosting to the crumbled cake. Use your hands to blend until it holds together like dough.
- Roll the mixture into balls, about 1-1.5 inches in diameter. Place them on a baking sheet lined with parchment paper.
- Refrigerate the balls for about 30 minutes to firm up.
- While the cake pops chill, melt your candy coating according to package instructions.
- Dip the end of each lollipop stick into the melted chocolate and insert it into the center of each cake ball.
- Dip each cake pop into the melted chocolate, swirling to ensure an even coat. Allow excess chocolate to drip off.
- Before the chocolate hardens, sprinkle your decorations on top or drizzle with contrasting chocolate to create designs.
- Stick the pops upright in a foam block or a cup to ensure they cool without smudging the decorations.