Red, White and Blue Yogurt Popsicles: Easy 5-minute no-bake treat
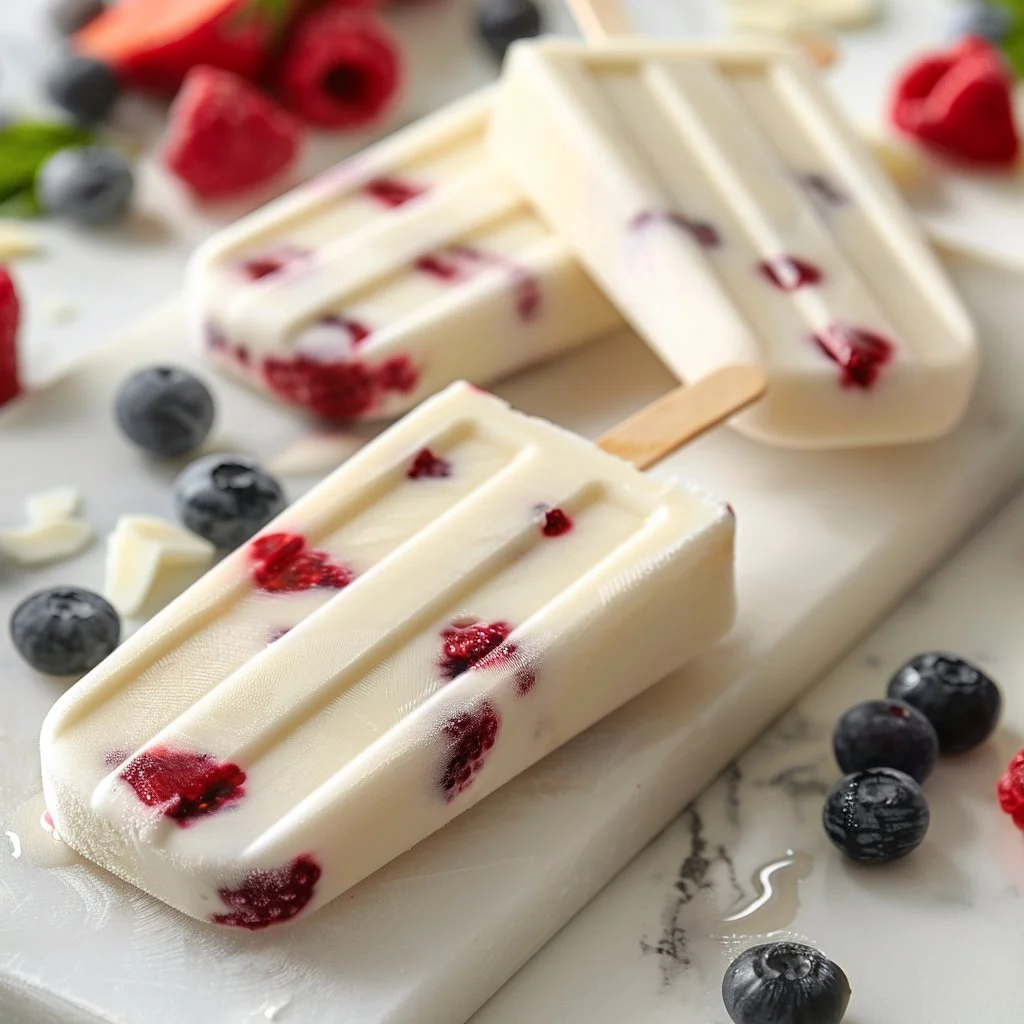
When summer hits, the quest for refreshing treats that also satisfy your sweet tooth begins. Enter the Red, White and Blue Yogurt Popsicles: a delightful frozen snack that’s not only a vibrant tribute to the colors of the American flag but is also deliciously creamy, refreshing, and healthy. Whether you’re celebrating a patriotic holiday, hosting a summer party, or simply cooling off on a hot day, these popsicles are an exciting way to savor the season. Let’s dive into why you’ll love making and enjoying these tasty treats!
Why You’ll Love Red, White and Blue Yogurt Popsicles
These yogurt popsicles aren’t just pretty to look at; they offer several compelling reasons to whip them up this summer. Here’s a taste of what makes them stand out:
- Customizable: You can easily adjust the ingredients to suit your taste preferences or dietary needs.
- Healthy Treat: Packed with yogurt and real fruit, they provide nutrition without sacrificing flavor.
- Kid-Friendly: The fun colors and flavors make these treats a hit with both kids and adults alike.
- Easily Make Ahead: Prepare a batch in advance, freeze them, and you’ll have a refreshing snack ready when the warm days call for it.
What Are Red, White and Blue Yogurt Popsicles?
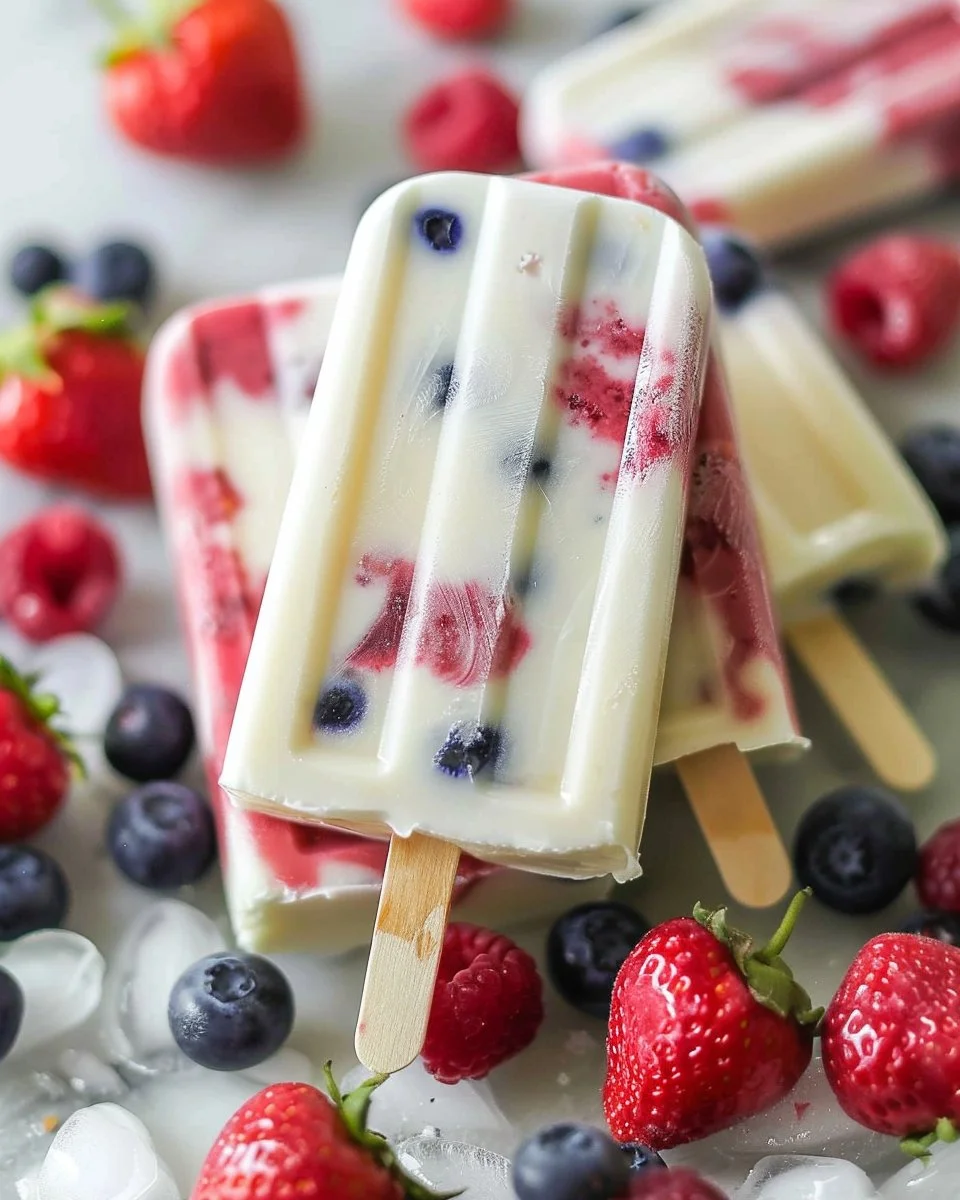
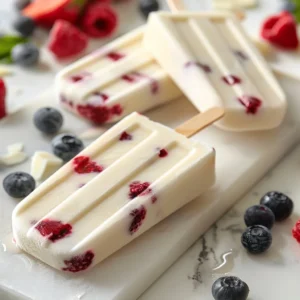
Red, White and Blue Yogurt Popsicles are frozen treats that celebrate the colors red, white, and blue using a creamy yogurt base combined with fresh fruit. The red typically comes from strawberries or raspberries, the white from yogurt, and the blue from blueberries. These three ingredients not only create a stunning visual presentation but also a delectable combination of flavors that refresh and satisfy.
Ingredients
- 1 cup strawberries or raspberries (fresh or frozen, thawed)
- 1 cup blueberries (fresh or frozen, thawed)
- 2 cups yogurt (plain Greek or your favorite flavor)
- 3 tablespoons honey or maple syrup (adjust based on sweetness preference, optional)
- 1 teaspoon vanilla extract (optional)
Step-by-Step Instructions
Making Red, White and Blue Yogurt Popsicles is a breeze. Here’s how you can create your own vibrant summer treat:
Step 1: Prepare the Red Layer
- In a blender, combine the strawberries or raspberries and 1 tablespoon of honey/maple syrup (if desired). Blend until smooth.
- Pour the blended mixture into the bottom third of your popsicle molds, filling them about one-third full.
Step 2: Create the White Layer
- In a bowl, mix the yogurt with the vanilla extract and additional sweetener if desired.
- Carefully spoon the yogurt mixture over the red layer until the molds are two-thirds full. Make sure to gently spread it to avoid mixing it with the red layer.
Step 3: Finish with the Blue Layer
- Blend the blueberries with 1 tablespoon of honey/maple syrup (if using) until smooth.
- Pour this blueberry mixture over the yogurt layer until the molds are filled to the top.
Step 4: Freeze
- Insert popsicle sticks into the molds and freeze for at least 4-6 hours or until completely solid.
Step 5: Unmold and Enjoy!
- To remove the popsicles, run warm water over the outside of the molds for a few seconds until they release easily.
- Enjoy your delicious Red, White and Blue Yogurt Popsicles as a refreshing snack!
Helpful Tips
- Layering: Pour slowly and steadily to maintain distinct layers.
- Sweetness: Taste your fruit blends before freezing. Depending on the ripeness, you may want to adjust sweetness.
- For easier blending: If using frozen fruits, add a splash of water to help your blender process.
Variations
Feel free to get creative and customize your popsicles with different fruits or additional layers:
- Tropical Twist: Use mango for an orange layer and coconut yogurt for a tropical flavor.
- Minty Fresh: Add fresh mint leaves to your strawberry layer for a refreshing twist.
- Chocolate Drizzle: After removing the popsicles from molds, dip them in melted dark chocolate for an indulgent treat.
Serving Ideas
Red, White and Blue Yogurt Popsicles can be served in various fun ways:
- Patriotic Party: Set them out during your Fourth of July gatherings.
- Healthy Snack Option: Pair with fresh fruit and granola for a wholesome breakfast treat.
- Ice Cream Alternative: Offer them as a full-of-flavor alternative to traditional ice cream at dessert time.
Storage Tips
These tasty pops need to be kept frozen, so here’s how to store them effectively:
- In the Freezer: Keep the popsicles in an airtight container to prevent freezer burn.
- Lasting Freshness: They can last up to two months in the freezer.
- Individual Wrapping: Wrap in plastic wrap or foil for a quick grab-and-go option.
Common Mistakes
Avoid these pitfalls to ensure your popsicle-making experience goes smoothly:
- Over-blending: Don’t blend too much, especially the fruit layers, as you want to retain some texture.
- Skipping the Stick: Make sure to insert the sticks straight and centered—this ensures they freeze correctly.
- Not Tasting Before Freezing: Always taste your mixtures before freezing to ensure the flavors are just right.
Health or Nutrition Information
Red, White and Blue Yogurt Popsicles are not only visually striking, but they also pack a nutritious punch. Each popsicle typically contains:
- Protein: Thanks to the yogurt, they provide a good source of protein.
- Vitamins & Antioxidants: The fruits are full of vitamins, particularly Vitamin C and antioxidants, which are great for health.
- Low in Sugar: When you sweeten with honey or maple syrup, you control the amount of sugar added, making it a healthier treat.
Expert Insights
As a food blogger, I love hearing from fellow kitchen enthusiasts. Tips from insiders often illuminate the art of popsicle making. One favorite suggestion is to experiment with flavored yogurts—such as strawberry or vanilla—to create unique flavor profiles. Also, adding a bit of lemon juice to the fruit blends can enhance the overall flavor and brightness of your popsicles!
FAQ
1. How can I make Red, White and Blue Yogurt Popsicles vegan?
You can substitute regular yogurt with a plant-based yogurt, such as coconut or almond milk yogurt, and use maple syrup as a sweetener for a completely vegan treat.
2. Can I use frozen fruits for the Red, White and Blue Yogurt Popsicles?
Absolutely! Frozen fruits work perfectly, just make sure to thaw them before blending for easier processing.
3. How long do Red, White and Blue Yogurt Popsicles last in the freezer?
These popsicles can last up to two months when kept in an airtight container in the freezer.
4. Can I make these popsicles without added sugar?
Yes! The natural sweetness of the fruits is often enough, but you can taste the mixtures and add sweeteners only if needed.
5. What’s the best way to unmold the popsicles?
Run warm water over the outside of the molds for a couple of seconds. This should help them pop out easily.
6. What are some creative serving ideas for Red, White and Blue Yogurt Popsicles?
Serve them at summer parties, as a dessert after a barbecue, or even as a refreshing breakfast on hot days!
Conclusion
Red, White and Blue Yogurt Popsicles are not only a feast for the eyes, but they also provide a deliciously nutritious way to embrace the summer heat. Whether you’re celebrating a holiday, cooling off, or simply treating yourself, these homemade popsicles are easy to make and can be customized just the way you love. So, gather your ingredients, indulge in the delightful layers of flavor, and enjoy your own patriotic creation this summer!
Red, White and Blue Yogurt Popsicles
Ingredients
Red Layer Ingredients
- 1 cup strawberries or raspberries (fresh or frozen, thawed)
- 1 tablespoon honey or maple syrup (optional) Adjust based on sweetness preference
White Layer Ingredients
- 2 cups yogurt (plain Greek or your favorite flavor)
- 1 teaspoon vanilla extract (optional) Adds flavor
Blue Layer Ingredients
- 1 cup blueberries (fresh or frozen, thawed)
- 1 tablespoon honey or maple syrup (optional) Adjust based on sweetness preference
Instructions
Preparation
- In a blender, combine the strawberries or raspberries and 1 tablespoon of honey/maple syrup (if desired). Blend until smooth.
- Pour the blended mixture into the bottom third of your popsicle molds, filling them about one-third full.
Creating the White Layer
- In a bowl, mix the yogurt with the vanilla extract and additional sweetener if desired.
- Carefully spoon the yogurt mixture over the red layer until the molds are two-thirds full. Ensure to gently spread it to avoid mixing with the red layer.
Finishing with the Blue Layer
- Blend the blueberries with 1 tablespoon of honey/maple syrup (if using) until smooth.
- Pour this blueberry mixture over the yogurt layer until the molds are filled to the top.
Freezing
- Insert popsicle sticks into the molds and freeze for at least 4-6 hours or until completely solid.
Serving
- To remove the popsicles, run warm water over the outside of the molds for a few seconds until they release easily.
- Enjoy your delicious Red, White and Blue Yogurt Popsicles as a refreshing snack!