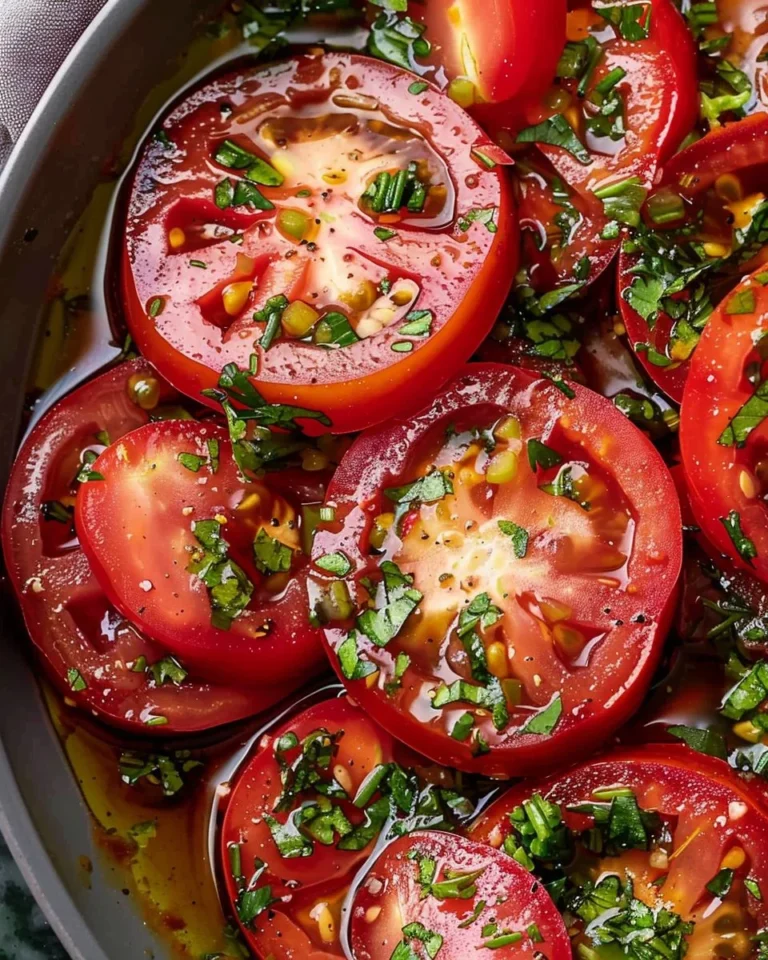
Roasted Winter Squash Seeds
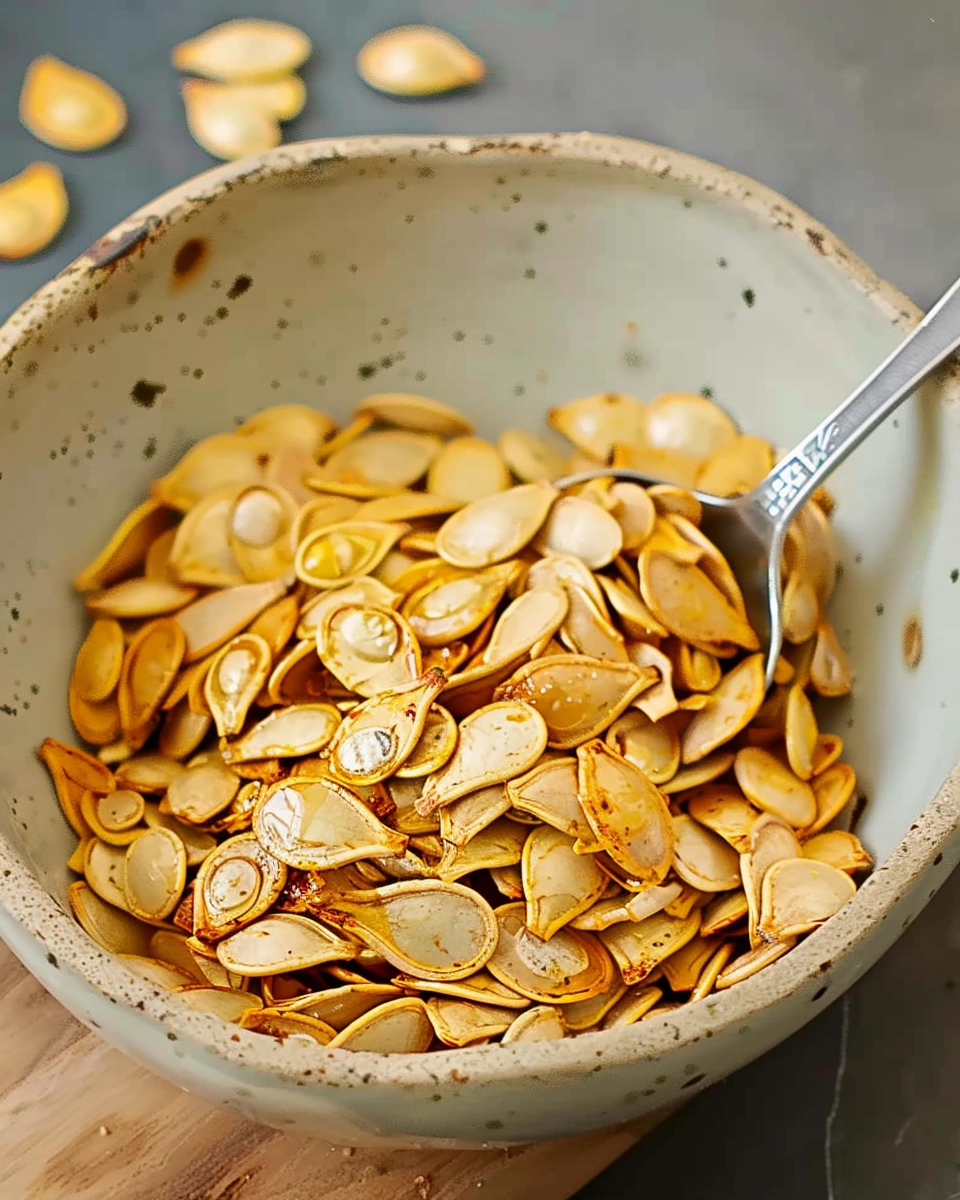
If you’ve ever scooped seeds out of a winter squash and wondered whether to toss them or save them, this Roasted Winter Squash Seeds recipe is your answer. A lot of people throw these seeds away, not realizing they turn into a crunchy, flavorful snack with almost no effort.
I’ve been roasting squash seeds for years, especially during fall and winter when butternut, acorn, and kabocha squash are on repeat in my kitchen. They’re simple, budget-friendly, and surprisingly addictive. Once you try them, you’ll never waste squash seeds again.
In this post, you’ll learn exactly how to clean, season, and roast winter squash seeds, plus flavor ideas, storage tips, and answers to common questions.
Why You’ll Love This Recipe
-
Zero waste: Uses seeds you’d normally throw away
-
Easy snack: Simple steps and minimal ingredients
-
Crunchy and customizable: Endless seasoning options
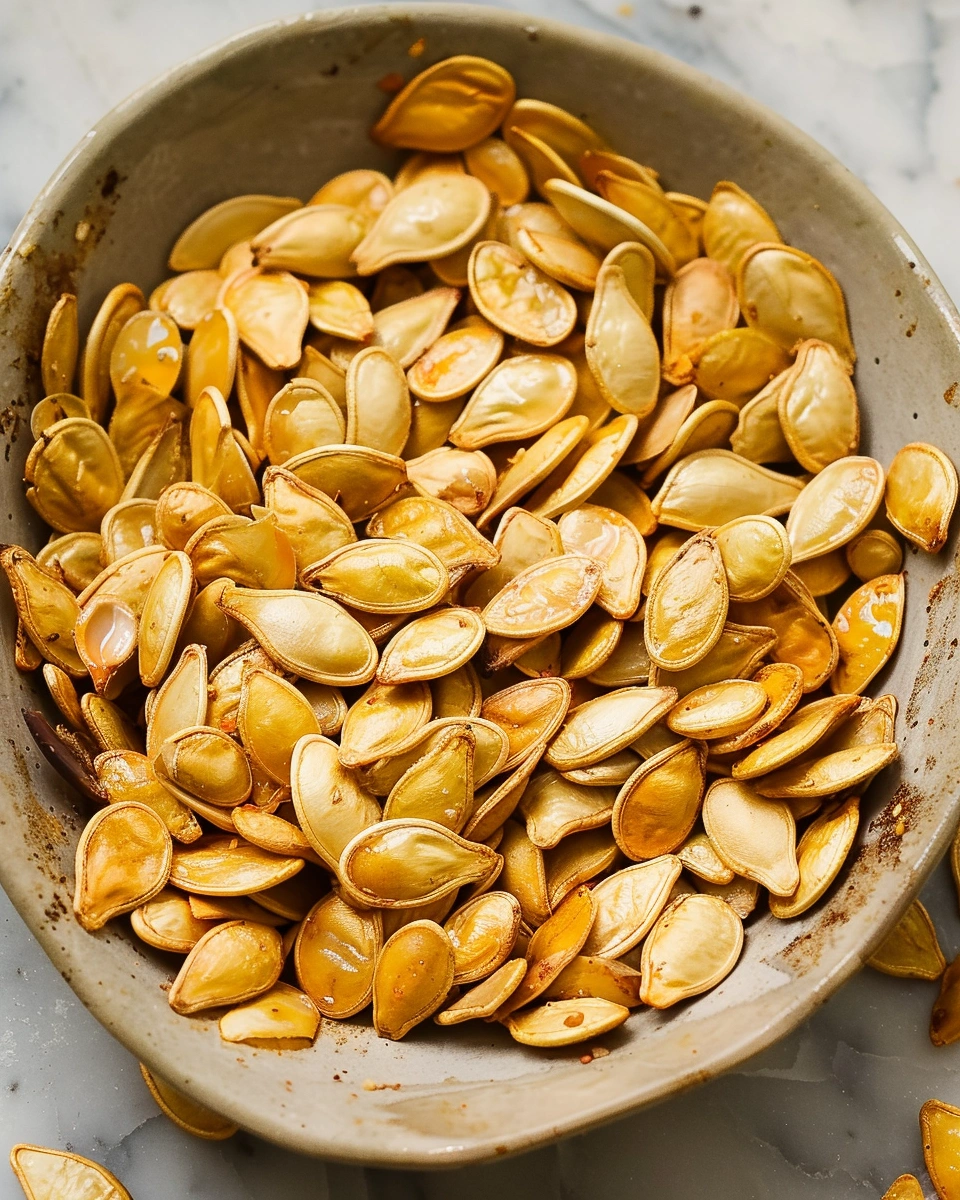
Ingredients & Prep
Roasted winter squash seeds require just a few basics.
Main Ingredients Prep
-
Winter squash seeds: From butternut, acorn, kabocha, or similar squash
-
Water: For rinsing and boiling (optional but helpful)
Seasonings, Sauces, or Flavor Base
-
Olive oil or melted butter: Helps seeds crisp
-
Salt: Essential for flavor
Pantry Staples
-
Optional spices: Paprika, garlic powder, cinnamon, or chili powder
-
Optional sweetener: Maple syrup or brown sugar for sweet versions
Step-by-Step Cooking Instructions
Pre-Cooking Prep
Separate the seeds from the squash pulp. Place them in a bowl of water and use your fingers to remove as much stringy flesh as possible. Drain and rinse well.
Optional but recommended: Boil the seeds in salted water for 8–10 minutes. This helps them cook more evenly and improves texture. Drain and pat completely dry with a towel.
Cooking Method
Preheat your oven to 325°F. Spread the dried seeds on a baking sheet.
Drizzle with olive oil or melted butter and sprinkle with salt. Toss until evenly coated.
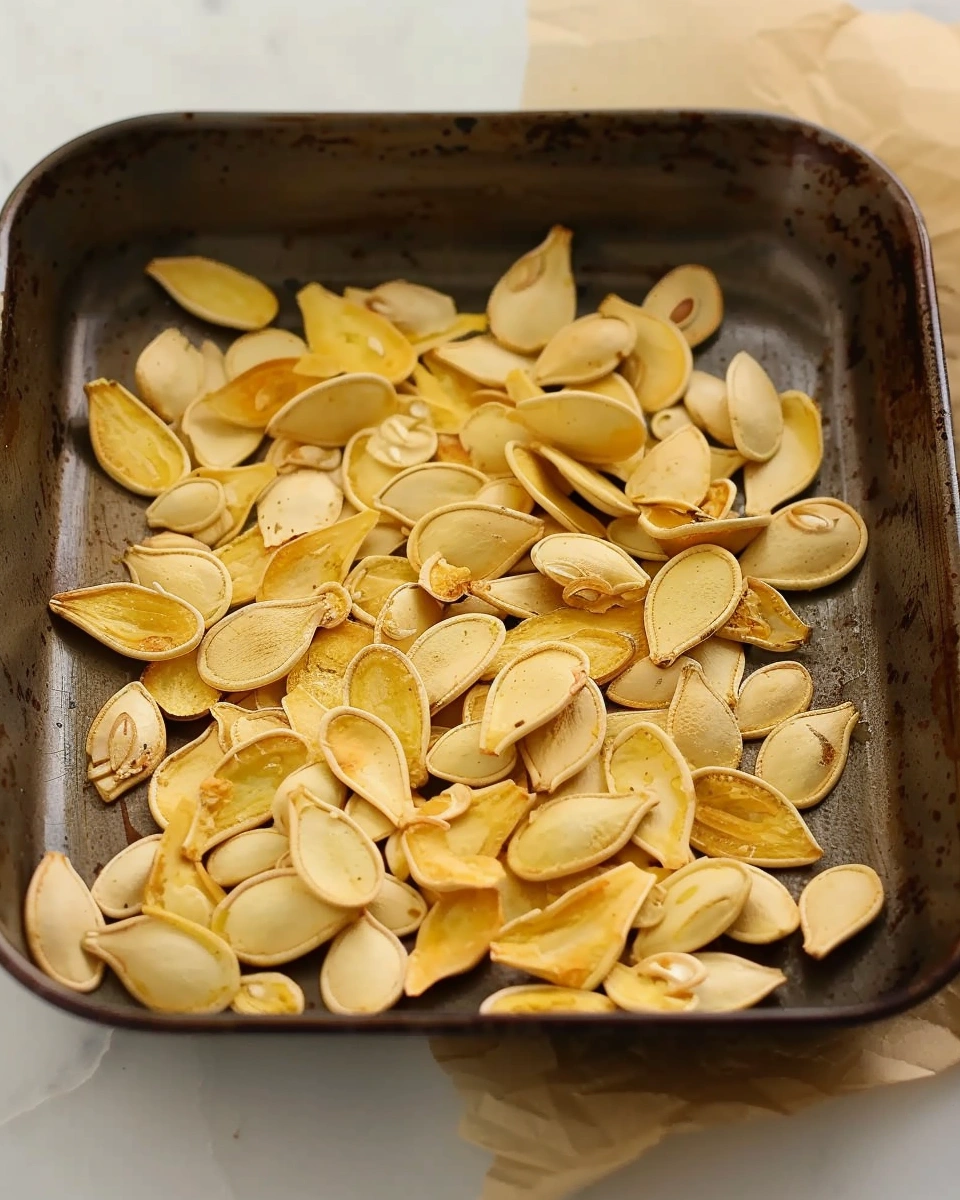
Spread the seeds in a single layer. Roast for 25–35 minutes, stirring every 10 minutes, until golden brown and crispy.
Doneness or Texture Check
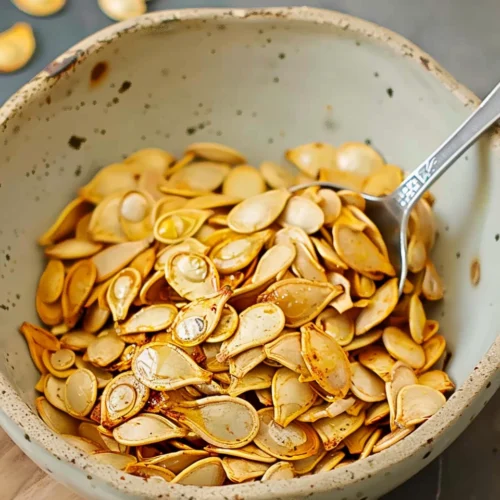
The seeds should be dry, crunchy, and lightly browned. If they’re chewy, roast for a few more minutes, checking closely to avoid burning.
Resting or Final Touches
Remove from the oven and let the seeds cool on the baking sheet. They will crisp up even more as they cool.
Pro Tips for Perfect Results
Common Mistakes to Avoid
-
Not drying the seeds well, which causes steaming instead of roasting
-
Using high heat, which burns the seeds quickly
-
Skipping stirring during roasting
Recommended Tools
-
Baking sheet
-
Mixing bowl
-
Colander
-
Clean kitchen towel
Storage & Reheating Tips
-
Store cooled seeds in an airtight container at room temperature for up to 5 days
-
Re-crisp in the oven for a few minutes if they soften
-
Do not refrigerate, as moisture affects crunch
Flavor Variations
Spicy Version
Toss seeds with chili powder, cayenne, or smoked paprika before roasting.
Healthy / Special Diet Option
-
Naturally gluten-free and vegan
-
Use olive oil instead of butter
-
Keep seasoning simple with salt only
Global Flavor Twist
-
Sweet cinnamon: Toss with cinnamon and a touch of sugar
-
Savory garlic: Add garlic powder and black pepper
-
Everything-style: Use everything bagel seasoning
Serving Suggestions
Roasted winter squash seeds are great:
-
As a crunchy snack
-
Sprinkled over soups or salads
-
Added to grain bowls
-
Used as a topping for roasted vegetables
They also make a great addition to snack boards.
FAQs
Can I make these ahead of time?
Yes. Roast them up to several days in advance and store in an airtight container.
How do I fix common mistakes?
If seeds are chewy, roast longer at a low temperature. If they taste bland, toss with a pinch of salt right after roasting.
Conclusion
These Roasted Winter Squash Seeds are simple, crunchy, and incredibly satisfying. They turn kitchen scraps into a delicious snack and are easy to customize with your favorite flavors. I make these every winter, and they never last long.
If you enjoy easy, no-waste recipes like this, save this one and try it the next time you cook winter squash. It’s a small step that makes a big difference.
Roasted Winter Squash Seeds
MiraIngredients
- 1 –2 cups winter squash seeds butternut, acorn, kabocha, etc.
- Water for rinsing and optional boiling
- 1 –2 tbsp olive oil or melted butter
- ½ tsp salt or to taste
- Optional Seasonings
- Paprika garlic powder, chili powder, or cinnamon
- Black pepper or cayenne
- Maple syrup or brown sugar for sweet versions
Instructions
- Clean seeds: Separate seeds from squash pulp. Place in a bowl of water and remove as much stringy flesh as possible. Rinse and drain well.
- Optional boil (recommended): Boil seeds in salted water for 8–10 minutes. Drain and pat completely dry with a clean towel.
- Preheat oven: Preheat to 325°F (165°C).
- Season: Spread seeds on a baking sheet. Drizzle with oil or butter and sprinkle with salt (and any seasonings). Toss to coat evenly.
- Roast: Spread seeds in a single layer. Roast 25–35 minutes, stirring every 10 minutes, until golden brown and crispy.
- Cool: Remove from oven and let cool on the baking sheet. Seeds will crisp further as they cool.
Notes
- Dry the seeds thoroughly before roasting—this is key for crispiness.
- Low and slow heat prevents burning and ensures even crunch.
- Taste and add a pinch of salt right after roasting if needed.