Pencil Themed Snack Bags for Back to School!
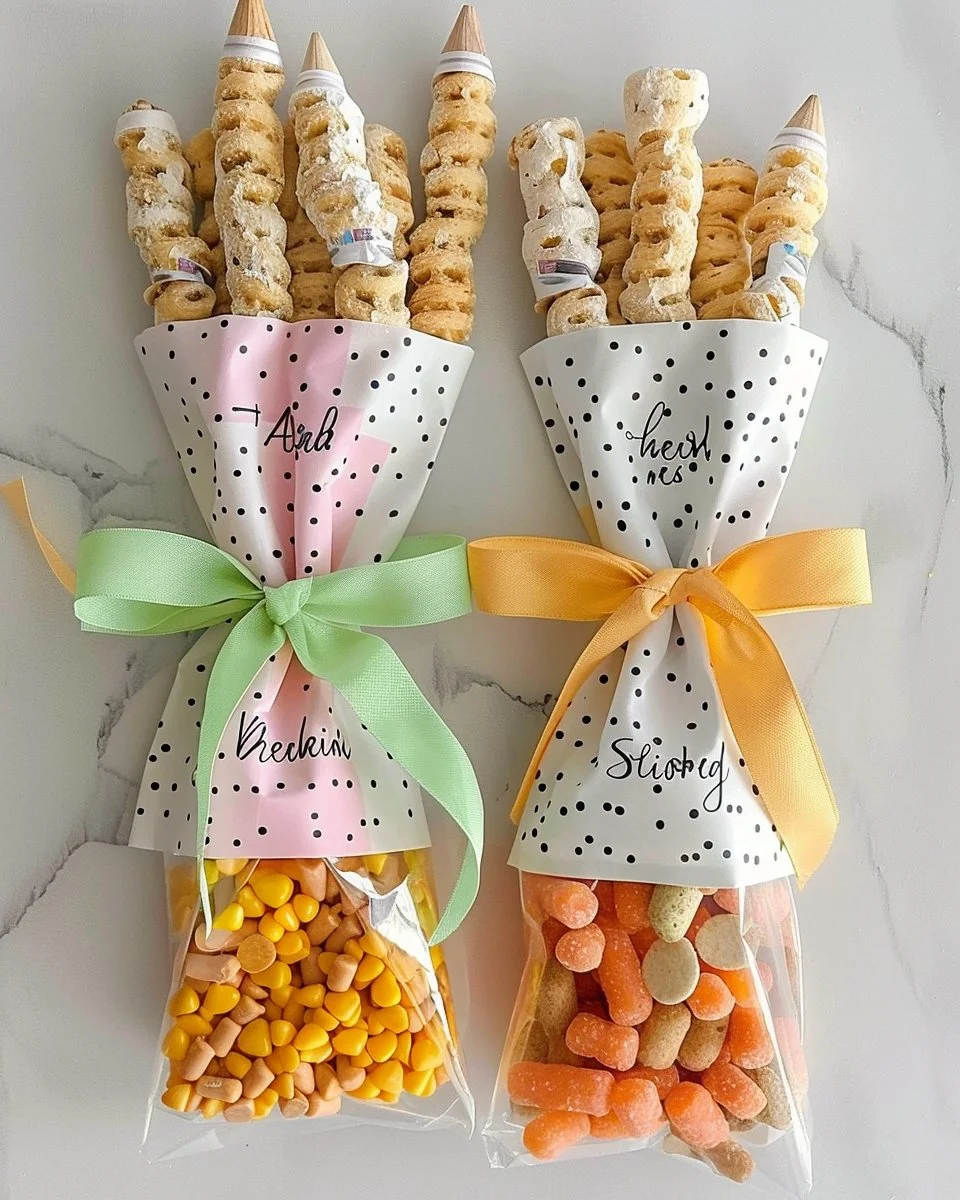
As summer winds down and the school year approaches, parents everywhere face the delightful yet daunting task of prepping their kids for back-to-school season. One exciting and practical way to juice up your child’s lunchbox is by crafting Pencil Themed Snack Bags for Back to School! These creative snack bags not only add a touch of whimsy to lunchtime but also make healthy eating fun. Let’s dive into the essentials of creating these delightful treat carriers that will both excite your child and ensure they have tasty snacks on hand.
Why Pencil Themed Snack Bags?
In a world where meal prep can often feel like a chore, Pencil Themed Snack Bags stand out for several reasons:
- Engagement: Kids love anything that looks vibrant or playful. Incorporating a pencil theme turns an ordinary snack into an exciting treat.
- Nostalgia for Parents: There’s something endearing about the classic pencil design that brings back memories of your own school days, creating a shared experience between you and your child.
- Encouragement of Healthy Choices: With creative packaging, kids are more likely to dig into healthy snacks, helping foster better eating habits early on.
Getting Started: What You’ll Need
Creating Pencil Themed Snack Bags is straightforward and doesn’t require fancy culinary skills. Here’s what you will need:
- Snack Bags: Clear plastic bags or resealable bags.
- Craft supplies: Markers or colored pencils, scissors, and paper (yellow and pink).
- Healthy snacks: Think cut-up fruits, veggie sticks, cheese cubes, or whole-grain crackers.
- Washi tape or stickers: For an extra boost of creativity.
Crafting Your Pencil Themed Snack Bags: A Step-by-Step Guide
Transform basic snack bags into fun, themed treats with this simple guide.
- Prepare Your Supplies: Gather all the materials. Place your clear bags on a flat surface.
- Make the Pencil Tip: Cut a triangle from the pink paper to represent the eraser of the pencil. Then cut a strip of black or gray paper for the pencil’s tip.
- Decorate the Bags: Use yellow markers or colored pencils to decorate the bags, creating the iconic pencil look. Draw stripes down the sides and add any quirky doodles your child might love.
- Fill With Snacks: Carefully place your chosen snacks into each bag. Ensure they are neatly arranged for visual appeal!
- Finish Off with the Pencil Tip: Attach the pink paper eraser triangle to the top of each bag with tape. Follow up with the tip of the pencil, securing it well so it doesn’t come undone.
- Final Touches: Use washi tape or fun stickers to seal the snack bags, making sure they are well sealed for fresh snacks all day long.
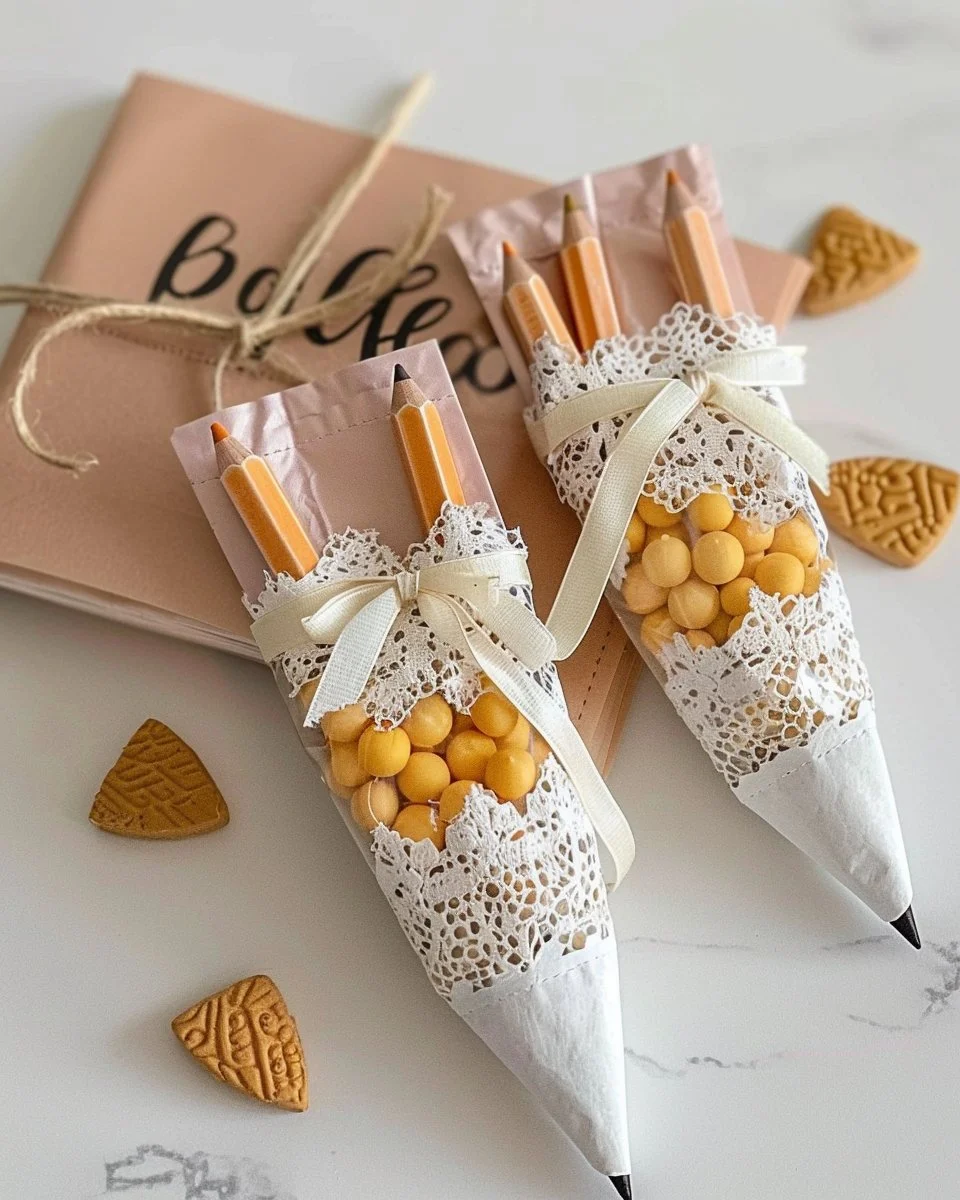
Pro Tips for Success
- Involve the Kids: Let your children join in the fun! Having them decorate their own snack bags not only sparks creativity but also gives them a sense of ownership in their lunches.
- Mix and Match Snacks: Keep things interesting by varying the snacks weekly—one week focus on fruits, another week on wholesome grains, etc.
- Themed Variations: Consider creating snack bags with themes other than pencils—like crayons or markers—to further change it up!
Creative Snack Ideas to Use
The beauty of Pencil Themed Snack Bags is their versatility! Here are some nutritious snack ideas that can be packed inside:
- Veggie Sticks: Carrot and celery sticks with a small container of hummus.
- Fruit Kabobs: Easy-to-eat fruit skewers that are colorful and tasty.
- Cheese Cubes: Pair with whole-grain crackers for a balanced option.
- Nut Mix: Create a delicious trail mix packed with nuts and dried fruits.
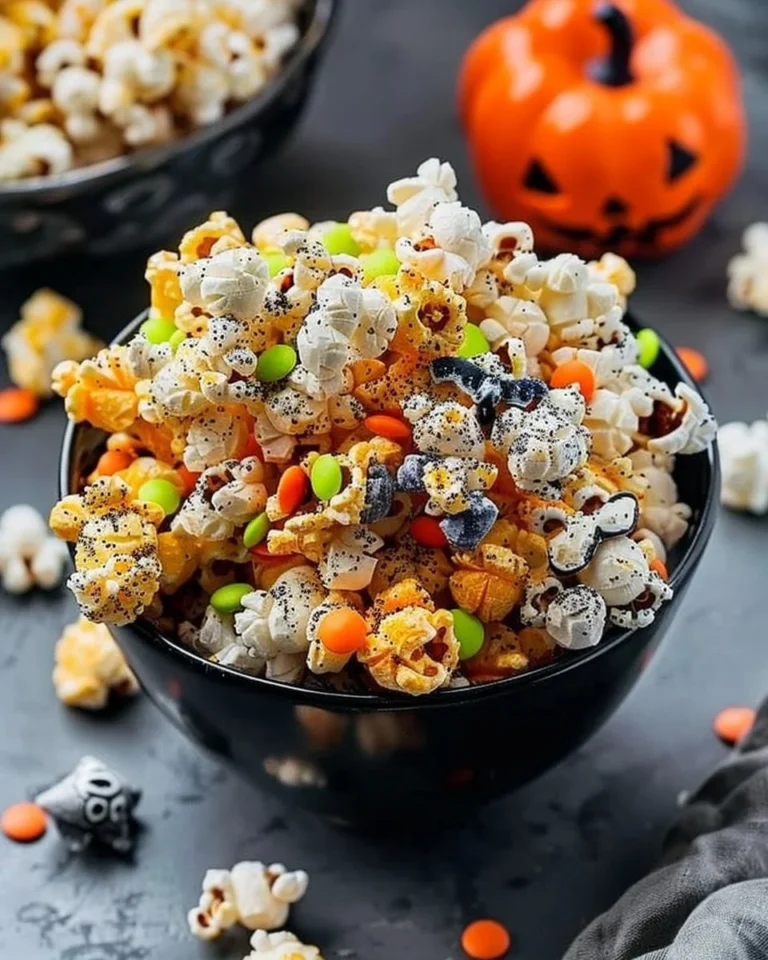
- Popcorn: A fun, whole grain snack that kids usually love!
Where to Store and How to Maintain
After a busy school day, it’s essential to properly store any unused snack bags to keep them fresh for future lunches.
- Temperature: If any snacks require refrigeration (like cheese or hummus), make sure to store them in the fridge immediately after preparation.
- Duration: Snack bags can generally last in the fridge for about 2-3 days. Plan your meal prep at the start of the week!
- Cleanliness: Always ensure the bags are sealed properly to avoid moisture getting in, which can spoil the snacks.
FAQs About Pencil Themed Snack Bags
Q: What materials do I need for Pencil Themed Snack Bags?
A: You’ll need clear snack bags, colored paper, markers, healthy snacks, and tape.
Q: Can I use different snacks in these bags?
A: Absolutely! Mix and match your child’s favorite healthy snacks for variety.
Q: How long can I store these snack bags in the fridge?
A: They can typically last 2-3 days when properly sealed and refrigerated.
Conclusion
Pencil Themed Snack Bags for Back to School make lunchtime creative and nutritious, allowing your child to enjoy the flavors while expressing their artistic spirit. By infusing a little fun into everyday meals, you’re not just preparing snacks; you’re fostering a love for healthy eating and lifelong creativity. Happy crafting, and here’s to a successful school year ahead!
Pencil Themed Snack Bags
Ingredients
Materials
- 4 pieces Clear plastic snack bags Resealable bags can also be used.
- 1 sheet Yellow paper For decorating the bags.
- 1 sheet Pink paper For the pencil eraser.
- 1 sheet Black or gray paper For the pencil tip.
- Markers or colored pencils For decorating the snack bags.
- Washi tape or stickers For sealing and decorating the bags.
Healthy Snacks
- 1 cup Cut-up fruits Examples include grapes, berries, or apple slices.
- 1 cup Veggie sticks Carrot and celery sticks are great options.
- 1 cup Cheese cubes Choose your child's favorite cheese.
- 1 cup Whole-grain crackers For a balanced snack.
Instructions
Preparation
- Gather all necessary materials and place the clear bags on a flat surface.
- Cut a triangle from the pink paper to create the eraser of the pencil.
- Cut a strip of black or gray paper to represent the tip of the pencil.
Decorating the Bags
- Use yellow markers or colored pencils to decorate the bags, creating the look of an iconic pencil.
- Draw stripes down the sides and include any quirky doodles your child might enjoy.
Filling the Bags
- Carefully fill each decorative bag with assorted chosen healthy snacks.
- Ensure snacks are neatly arranged for visual appeal.
Final Assembly
- Attach the pink paper triangle to the top of each bag with tape to simulate the eraser.
- Fix the black or gray paper strip to resemble the pencil tip.
- Seal the bags securely using washi tape or fun stickers.