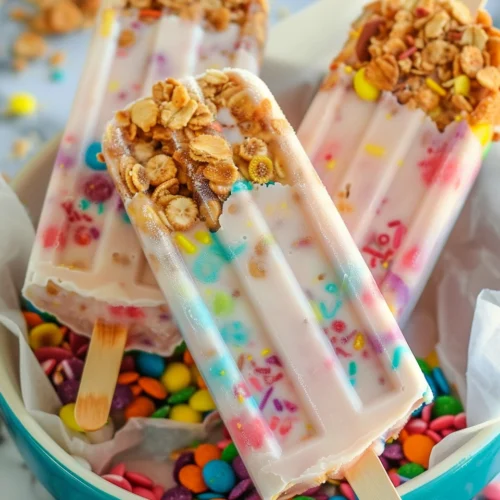
Busy mornings can make it hard to enjoy a proper breakfast. Sometimes there’s barely enough time to grab a bowl of cereal, let alone sit down and eat. That’s why Milk and Cereal Breakfast Popsicles are such a fun and practical solution.
These frozen breakfast treats combine your favorite cereal with creamy milk or yogurt to create a cool, grab-and-go meal. They’re sweet, refreshing, and perfect for warm mornings when you want something quick but still satisfying.
As someone who enjoys experimenting with creative breakfast ideas, I’ve found that Milk and Cereal Breakfast Popsicles are one of the easiest ways to make breakfast exciting for both kids and adults. They take only a few minutes to prepare and can be made ahead of time for the entire week.
In this guide, you’ll learn how to make Milk and Cereal Breakfast Popsicles step by step, including the best ingredients to use, helpful freezing tips, creative flavor variations, and answers to common questions so your popsicles turn out perfectly every time.
Why You’ll Love This Recipe
There are plenty of reasons to enjoy Milk and Cereal Breakfast Popsicles.
-
Quick grab-and-go breakfast – Perfect for busy mornings.
-
Fun and kid-friendly – A playful way to enjoy cereal.
-
Easy to prepare ahead – Make a batch and freeze for the week.
-
Customizable flavors – Works with almost any cereal.
-
Cool and refreshing – Great for warm weather mornings.
It’s a creative twist on the classic bowl of cereal.
Ingredients & Prep
Before making Milk and Cereal Breakfast Popsicles, gather your ingredients.
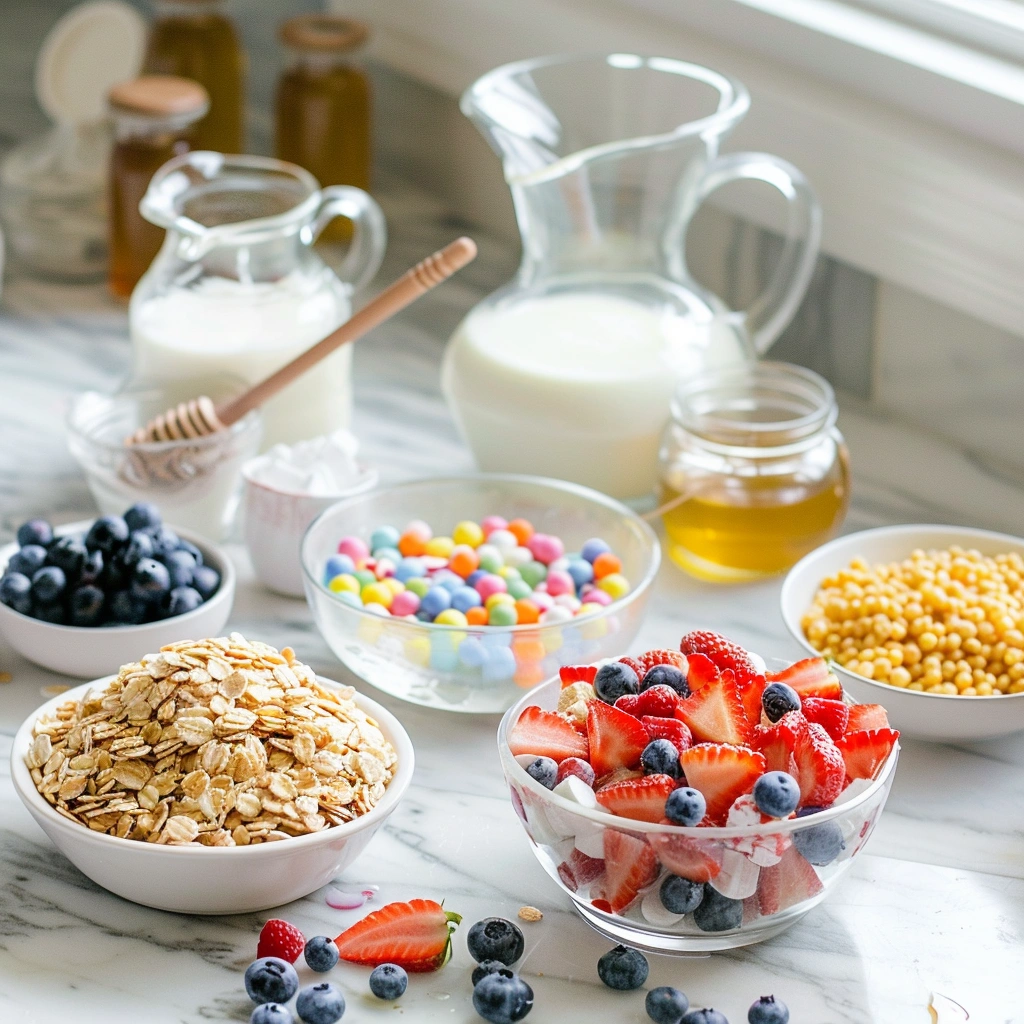
Main Ingredients Prep
Choose cereals that hold their shape well when soaked, such as:
-
Cornflakes
-
Cheerios
-
Granola
-
Fruity cereal
Yogurt adds extra creaminess and protein.
Seasonings, Sauces, or Flavor Base
These ingredients help enhance the flavor.
Sweeteners are optional depending on how sweet your cereal already is.
Pantry Staples
You may also want:
-
Popsicle molds
-
Popsicle sticks
-
Small mixing bowl
These simple tools make assembling the popsicles easy.
Step-by-Step Cooking Instructions
Making Milk and Cereal Breakfast Popsicles takes only a few minutes before freezing.
Pre-Cooking Prep
-
In a bowl, combine the milk, yogurt, honey, and vanilla extract.
-
Stir until the mixture becomes smooth and well combined.
Next, prepare the cereal.
-
Add 1 cup of cereal into the milk mixture.
-
Let it sit for 1–2 minutes so the cereal absorbs a little milk.
This softens the cereal slightly and adds flavor to the milk.
Cooking Method
-
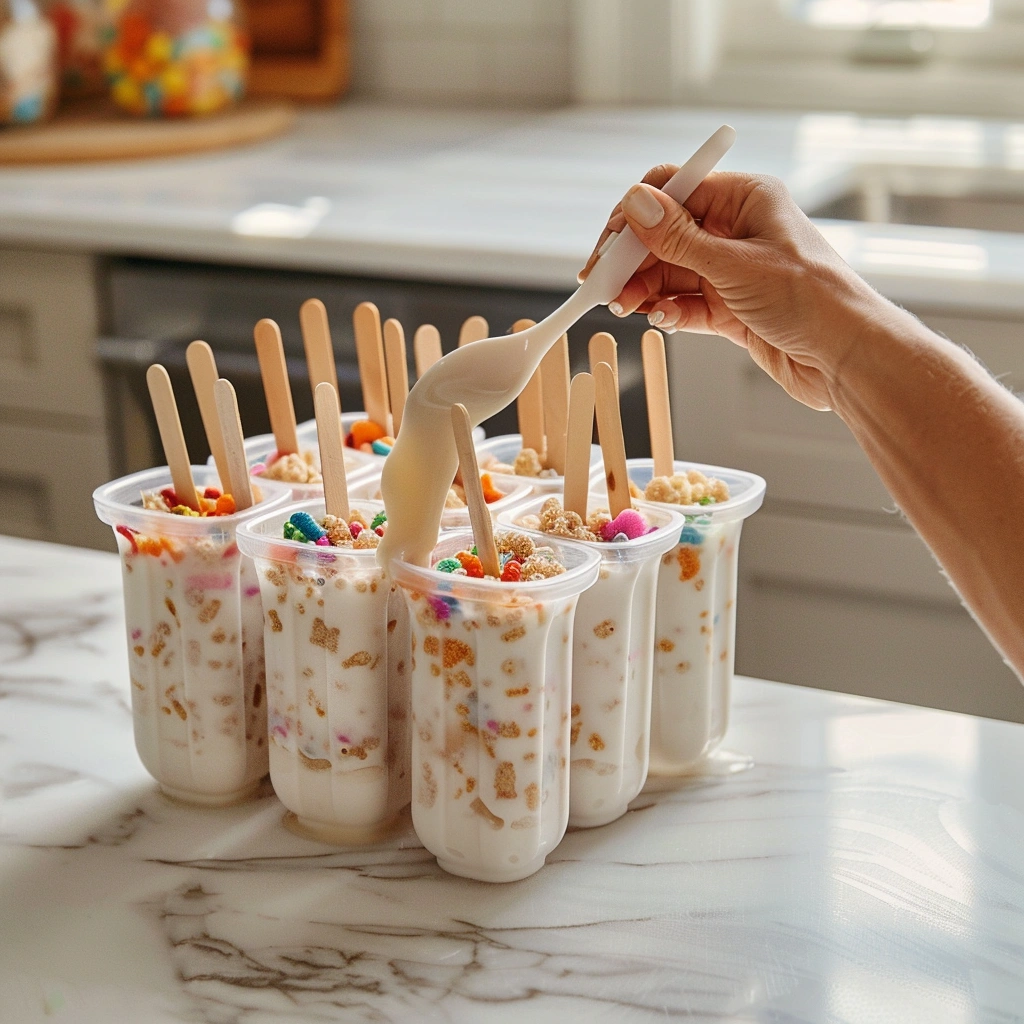
Spoon a small amount of cereal into each popsicle mold.
-
Pour the milk mixture over the cereal until the molds are nearly full.
-
Add a few more cereal pieces on top for texture.
Insert popsicle sticks into the molds.
-
Place the molds in the freezer.
Freeze for 4–6 hours, or until completely solid.
Doneness or Texture Check
Your Milk and Cereal Breakfast Popsicles are ready when:
-
The popsicles are fully frozen
-
They hold their shape when removed from the mold
-
The cereal pieces are suspended throughout the popsicle
To remove them easily, run the mold under warm water for a few seconds.
Resting or Final Touches
Once removed from the mold, you can add fun finishing touches such as:
Serve immediately for the best texture.
Pro Tips for Perfect Results
These helpful tips ensure your Milk and Cereal Breakfast Popsicles turn out great.
Common Mistakes to Avoid
Using too much cereal
Too much cereal can make the popsicles difficult to freeze evenly.
Not mixing the milk well
Ensure the yogurt and milk are fully combined for a smooth texture.
Freezing for too little time
Allow at least 4 hours so the popsicles set properly.
Recommended Tools
Helpful kitchen tools include:
-
Popsicle molds
-
Measuring cups
-
Mixing bowl
-
Spoon or small ladle
Silicone molds work especially well for easy removal.
Storage & Reheating Tips
Freezer storage:
Store Milk and Cereal Breakfast Popsicles in an airtight container for up to 2 weeks.
Prevent freezer burn:
Wrap each popsicle in parchment paper or plastic wrap.
These popsicles are meant to be eaten frozen, so reheating is not needed.
Flavor Variations
One of the best things about Milk and Cereal Breakfast Popsicles is how easy they are to customize.
Spicy Version
For a warm flavor twist, add:
-
A pinch of cinnamon
-
A dash of nutmeg
These spices pair well with granola or oat cereals.
Healthy / Special Diet Option
For a healthier version:
This version adds natural sweetness while keeping the popsicles nutritious.
Global Flavor Twist
Try these fun variations.
Tropical Breakfast Popsicles
-
Add pineapple chunks
-
Use coconut milk
Berry Yogurt Popsicles
Chocolate Cereal Popsicles
-
Add cocoa powder
-
Use chocolate cereal
These variations make the recipe even more exciting.
Serving Suggestions
Milk and Cereal Breakfast Popsicles are perfect for many occasions.
Serve them during:
-
Busy weekday mornings
-
Summer breakfasts
-
After-school snacks
-
Weekend brunch
Topping ideas
-
Crushed granola
-
Fresh fruit slices
-
Drizzled peanut butter
Drink pairings
-
Fresh smoothies
-
Iced coffee
-
Fruit juice
These combinations create a fun and balanced breakfast.
FAQs
Can I make this ahead of time?
Yes. Milk and Cereal Breakfast Popsicles are perfect for meal prep. Make them in advance and keep them in the freezer for quick breakfasts.
What cereal works best?
Cereals like Cheerios, granola, cornflakes, or fruity cereal hold their shape well and provide great texture.
Can I make these dairy-free?
Absolutely. Use plant-based milk and dairy-free yogurt.
How do I remove popsicles from the mold easily?
Run the outside of the mold under warm water for a few seconds to loosen the popsicles.
Conclusion
Fun, refreshing, and incredibly easy to prepare, Milk and Cereal Breakfast Popsicles are a creative way to transform a simple breakfast into something exciting. With just a few ingredients and a little freezer time, you can create a delicious grab-and-go breakfast the whole family will enjoy.
Whether you’re prepping for busy mornings or looking for a cool summer treat, these popsicles are a simple and playful option.
Try making Milk and Cereal Breakfast Popsicles this week, and you might discover a new favorite breakfast idea.