No Bake Cake Batter Protein Balls (Guilt-Free)
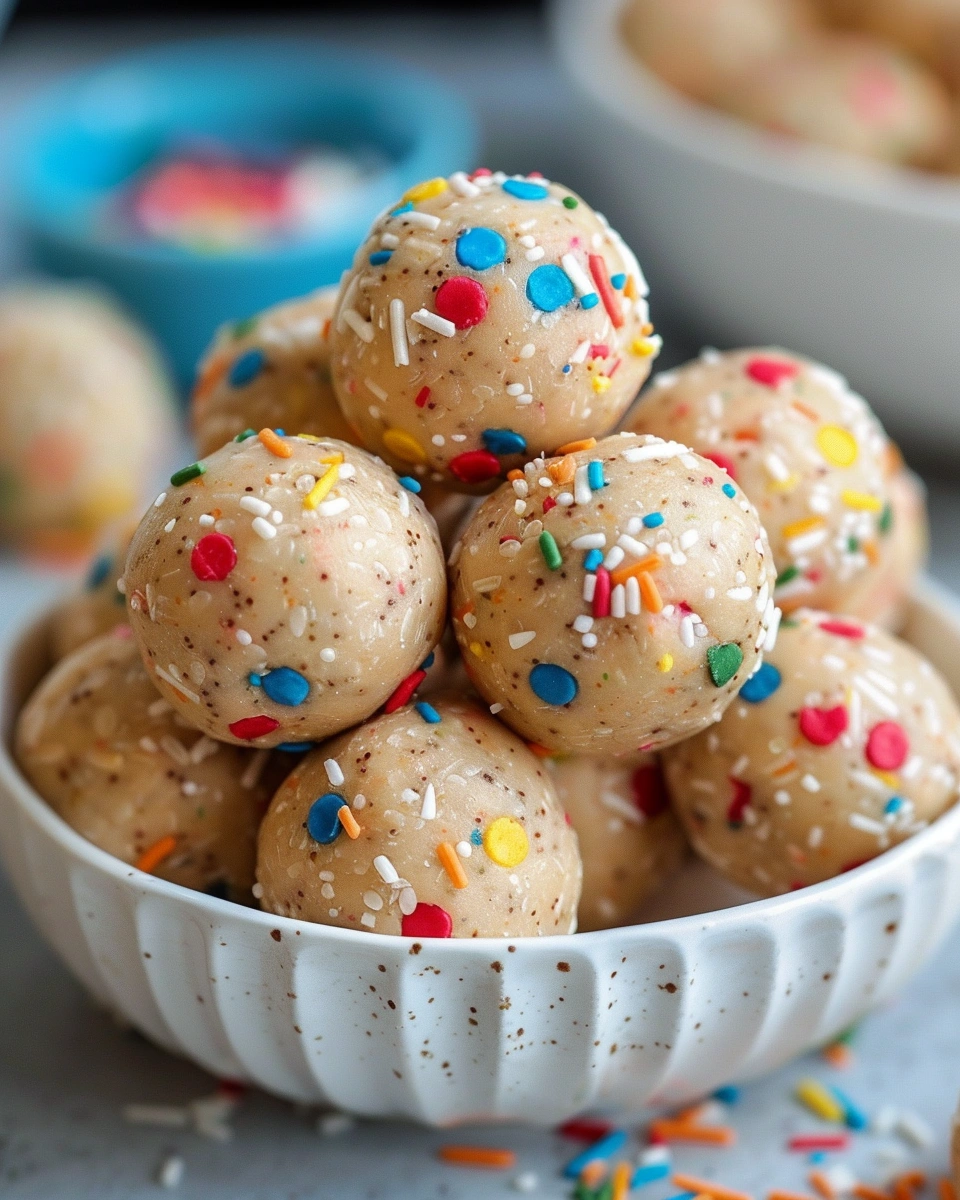
If you’re craving something sweet but still want to stay on track, these no bake cake batter protein balls (guilt-free) are the perfect solution. They taste like birthday cake in bite-sized form, but they’re packed with protein and made with better-for-you ingredients.
Whether you need a quick snack, post-workout fuel, or a healthier dessert option, these protein balls are easy to make and even easier to enjoy.
Why You’ll Love These No Bake Cake Batter Protein Balls (Guilt-Free)
These no bake cake batter protein balls (guilt-free) are all about balance—fun flavor with a nutritious twist.
Here’s why they’re a must-try:
- No baking required
- Tastes like cake batter without the guilt
- High in protein to keep you full longer
- Quick and easy to prepare
- Perfect for meal prep and on-the-go snacks
They’re great when you want something sweet without reaching for traditional desserts.
Ingredients You’ll Need
You only need a few simple ingredients to make these no bake cake batter protein balls.
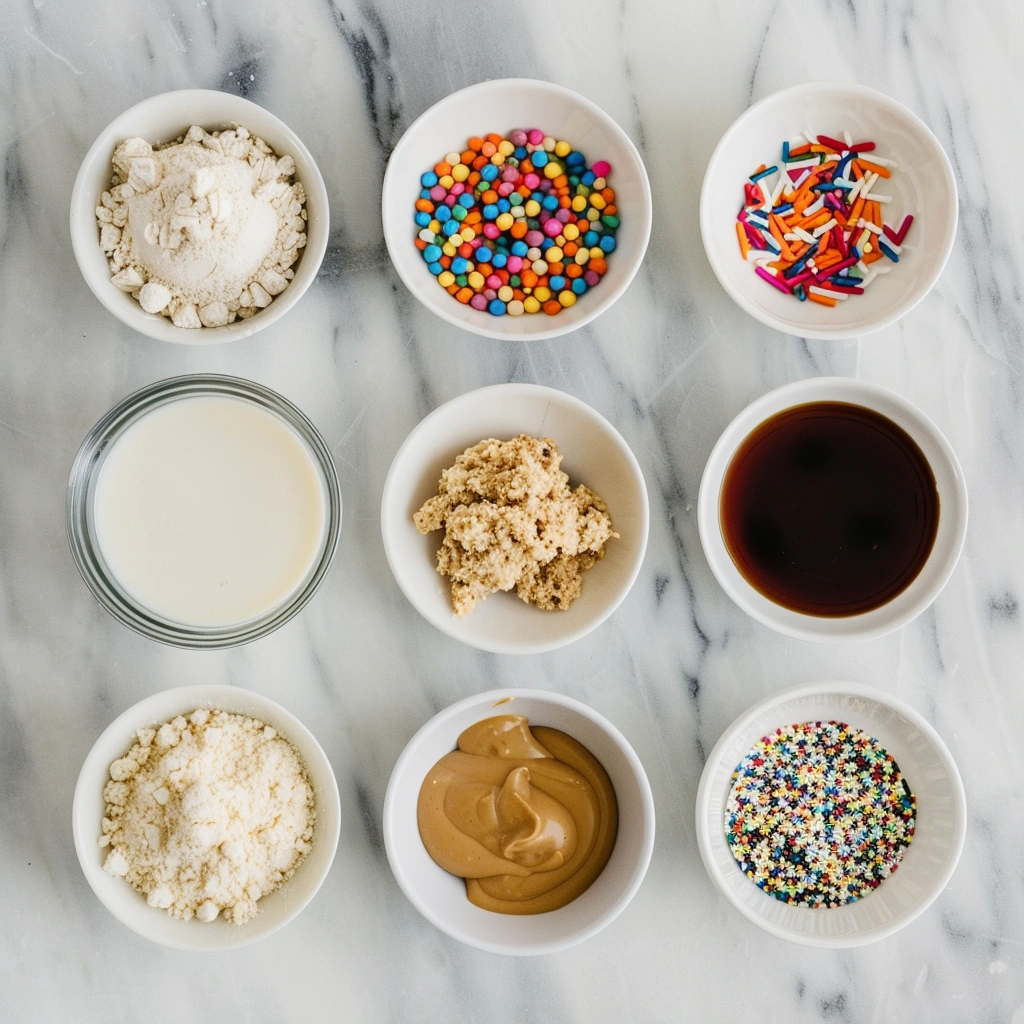
- 1 cup oat flour (or blended oats)
- 1 scoop vanilla protein powder
- 2 tablespoons maple syrup or honey
- 1/4 cup almond butter (or peanut butter)
- 2–4 tablespoons milk (any kind)
- 1 teaspoon vanilla extract
For that cake batter feel:
- 2–3 tablespoons sprinkles (use natural or sugar-free if preferred)
How to Make No Bake Cake Batter Protein Balls
These protein balls come together in just minutes.
Step 1: Mix the Dry Ingredients
In a bowl, combine oat flour and protein powder.
Step 2: Add the Wet Ingredients
Add maple syrup, nut butter, milk, and vanilla extract. Mix until a dough forms.
Step 3: Adjust the Texture
If the mixture is too dry, add a little more milk. If too wet, add more oat flour.
Step 4: Fold in Sprinkles
Gently mix in the sprinkles to create that classic cake batter look.
Step 5: Roll into Balls
Scoop small portions and roll into bite-sized balls.
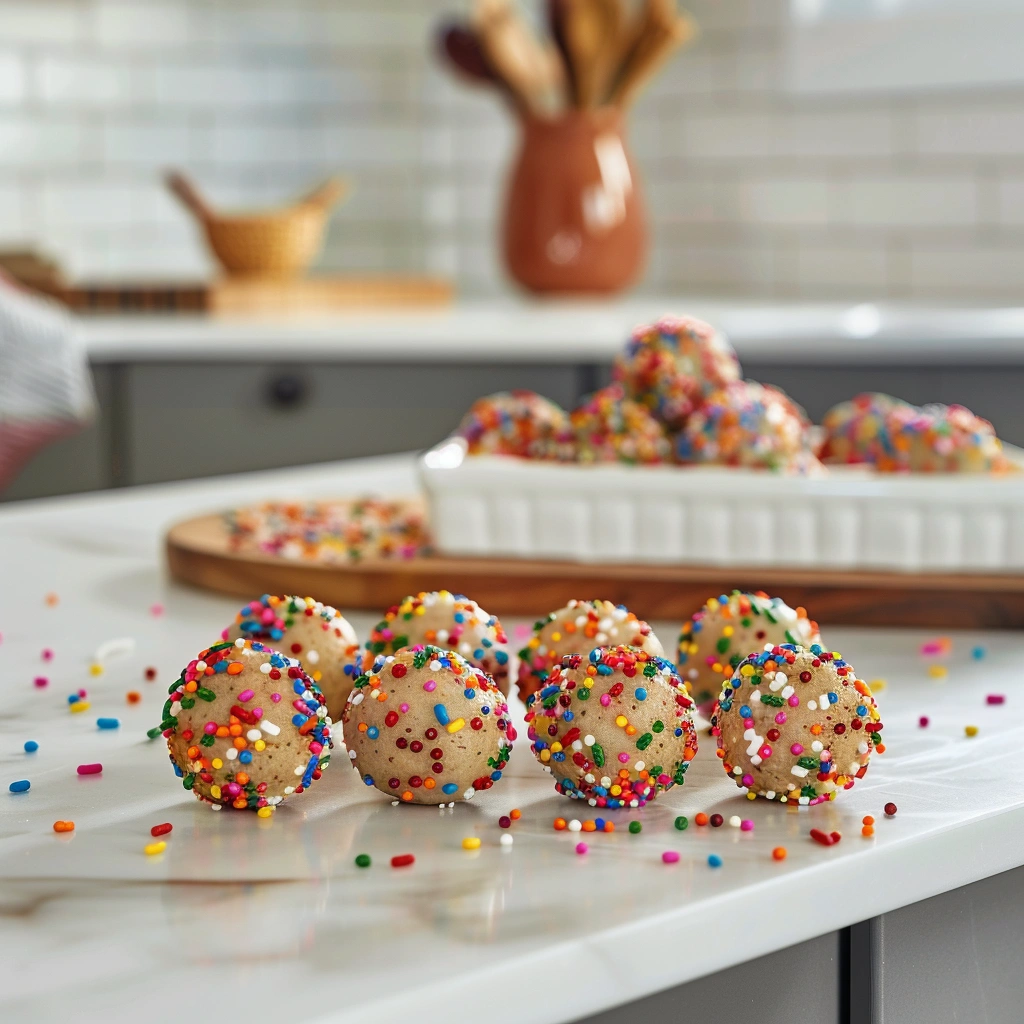
Step 6: Chill and Set
Refrigerate for 20–30 minutes until firm.
Tips for Perfect Protein Balls
These simple tips will help you get the best results:
Use a good protein powder
Flavor matters—vanilla works best for that cake batter taste.
Don’t skip chilling
It helps the balls firm up and improves texture.
Adjust sweetness
Add a little more maple syrup if you prefer a sweeter taste.
Keep them soft
Don’t add too much dry ingredient or they’ll become dense.
Use mini sprinkles
They distribute more evenly and look better.
Easy Variations You Can Try
Once you’ve mastered these no bake cake batter protein balls (guilt-free), try these variations:
1. Chocolate Cake Batter Balls
Add a teaspoon of cocoa powder for a chocolate version.
2. Funfetti Style
Use colorful sprinkles for a birthday cake vibe.
3. Vegan Version
Use plant-based protein powder and maple syrup.
4. Extra Protein Boost
Add an extra half scoop of protein powder and adjust liquid.
5. Coconut Cake Batter
Add shredded coconut for a tropical twist.
How to Store Your Protein Balls
These are perfect for prepping ahead:
- Refrigerator: Store in an airtight container for up to 1 week
- Freezer: Freeze for up to 1 month
- Grab-and-go: Keep a batch ready for quick snacks
They’re convenient and always ready when you need them.
When to Enjoy These Protein Balls
These no bake cake batter protein balls (guilt-free) fit into your day anytime:
- Post-workout snack
- Midday energy boost
- Healthy dessert
- Lunchbox treat
- Late-night craving
They’re versatile, fun, and satisfying.
Common Mistakes to Avoid
Here’s what to watch out for:
- Too dry mixture → hard to roll
- Too wet mixture → won’t hold shape
- Skipping chill time → soft texture
- Overloading sprinkles → affects consistency
Balance is key for the perfect bite.
FAQ: No Bake Cake Batter Protein Balls (Guilt-Free)
1. Can I make these without protein powder?
Yes, but they won’t have the same protein content. You can substitute with more oat flour.
2. Are these actually healthy?
They’re a healthier alternative to sweets, with better ingredients and added protein.
3. Can I use peanut butter instead of almond butter?
Absolutely—it works just as well and adds a richer flavor.
4. How do I make them sweeter?
Add a bit more maple syrup or a drizzle of honey.
5. Can I make them gluten-free?
Yes, just use certified gluten-free oats.
6. Do I need a food processor?
No, everything can be mixed in a bowl.
Final Thoughts: A Sweet Treat Without the Guilt
These no bake cake batter protein balls (guilt-free) prove you don’t have to give up flavor to eat smarter. They’re quick, easy, and taste like a treat while still fitting into a balanced lifestyle.
Now it’s your turn. Mix up a batch, store them in your fridge, and enjoy a snack that’s both fun and functional. Once you try them, they’ll become a regular in your routine.
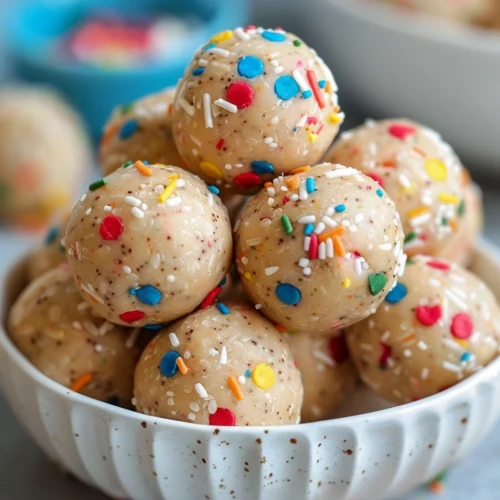
No Bake Cake Batter Protein Balls (Guilt-Free)
Ingredients
- 1 cup oat flour or blended oats
- 1 scoop vanilla protein powder
- 2 tablespoons maple syrup or honey
- 1/4 cup almond butter or peanut butter
- 2 –4 tablespoons milk any kind
- 1 teaspoon vanilla extract
- For cake batter flavor:
- 2 –3 tablespoons sprinkles
Instructions
- In a bowl, combine oat flour and protein powder.
- Add maple syrup, nut butter, milk, and vanilla extract. Mix until a dough forms.
- Adjust consistency by adding more milk (if too dry) or more oat flour (if too wet).
- Gently fold in sprinkles.
- Scoop and roll into bite-sized balls.
- Refrigerate for 20–30 minutes until firm.
Notes
- Use a high-quality vanilla protein powder for best flavor.
- Do not skip chilling for better texture and firmness.
- Adjust sweetness with more maple syrup if desired.
- Avoid adding too many dry ingredients to keep balls soft.
- Use mini sprinkles for better distribution and appearance.